
Introduction
A shower screen is an essential component of any modern bathroom. They prevent water from splashing outside the shower area, keep your bathroom clean and dry, and can make a strong style statement. This article provides an overview of shower screens, the various types available, how to choose the right one for your needs, the installation process, and tips for proper maintenance.
Defining Bath Shower Screens: A Fundamental Component of Modern Bathrooms
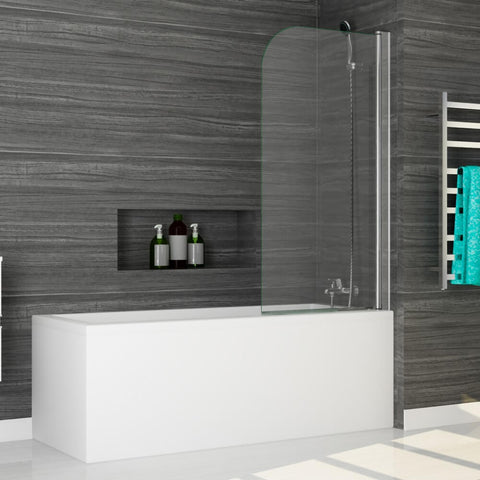
A bath shower screen, also known as a bath screen or shower enclosure, is a screen placed in the shower's doorway to contain water within the shower area. Shower screens are made of waterproof materials, typically glass, that allows you to have an open walk-in shower while preventing leaks and splashes.
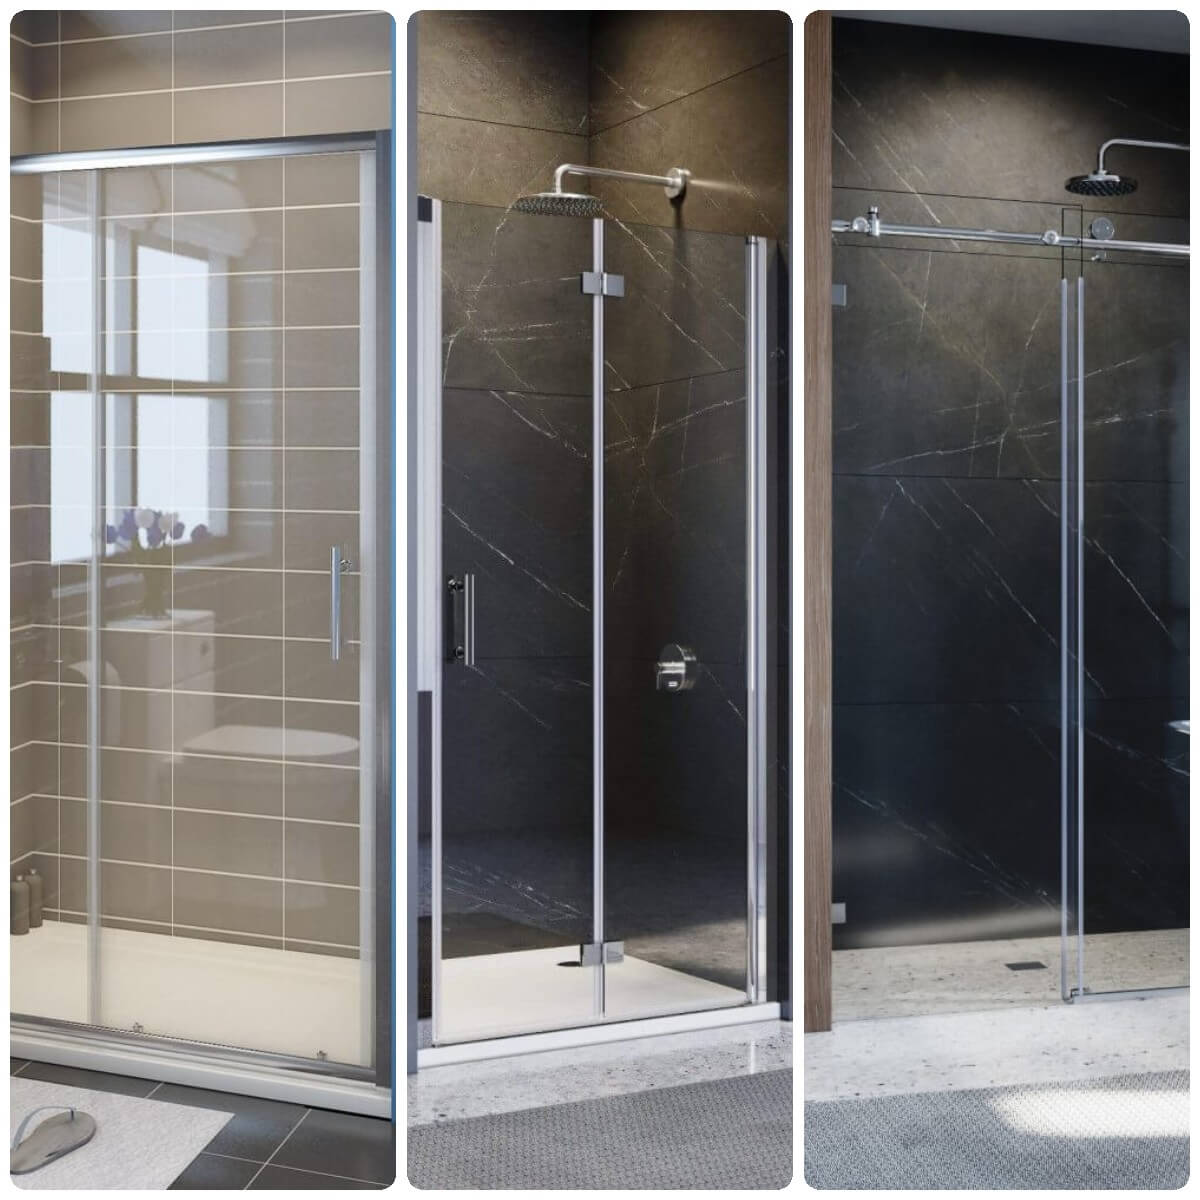
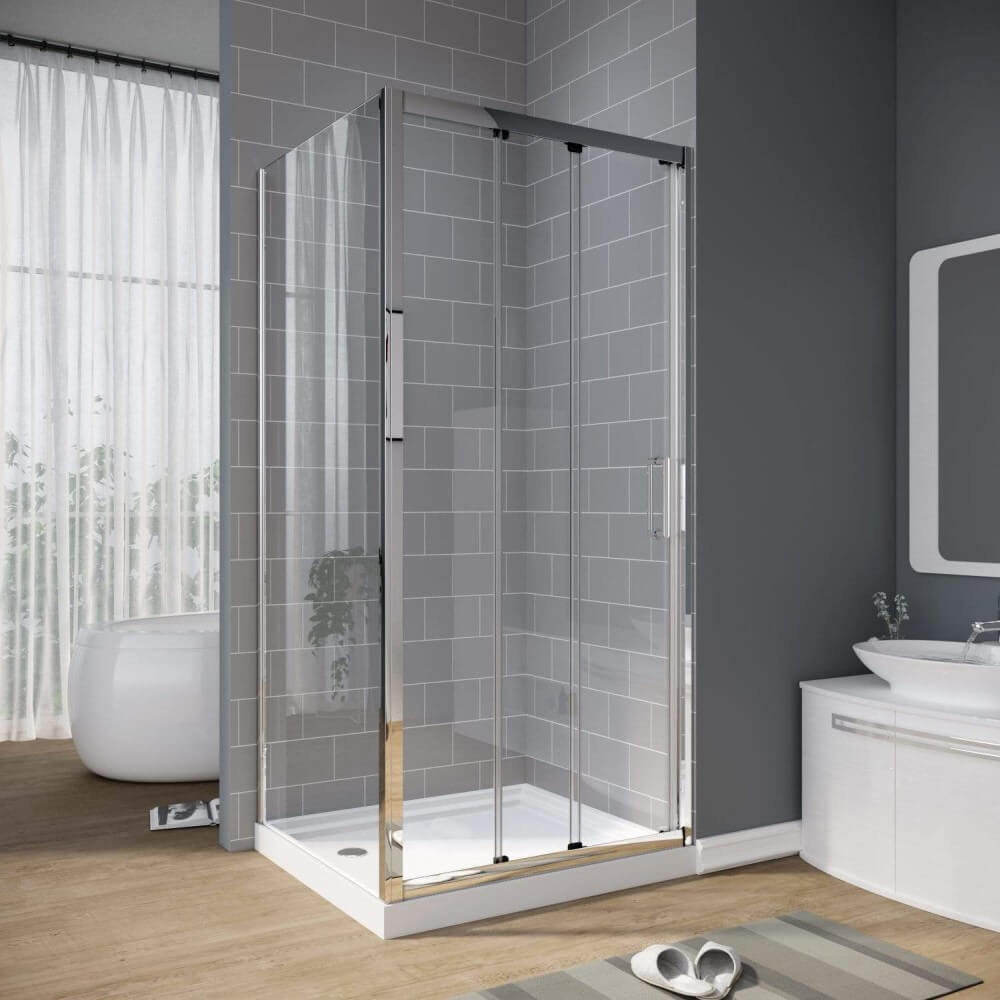
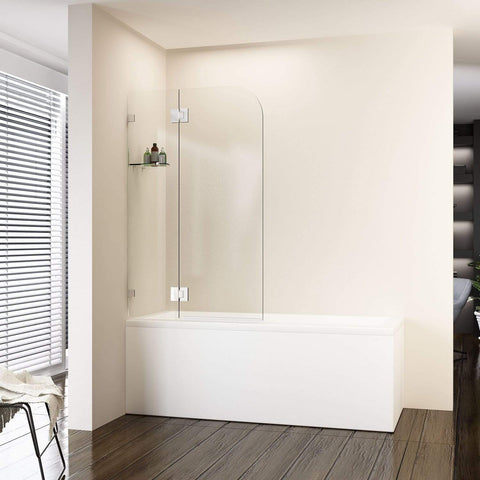
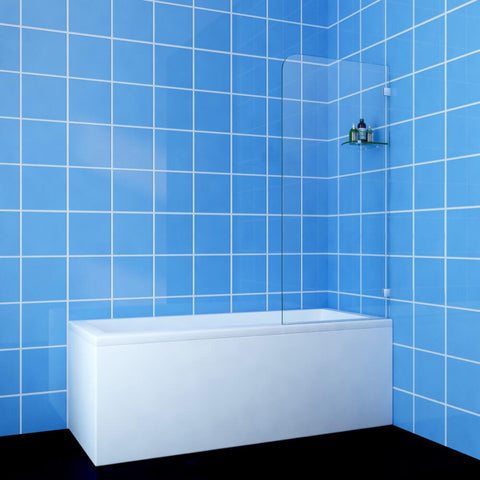
There are frameless, semi-frameless, and framed shower screens. Frameless screens have minimal metalwork for a sleek look. Semi-frameless screens have metal bracing only at the top and bottom. Framed screens have thicker metal frames around all edges. Shower screens come as full-length doors, partial walls, or in a three-walled cubicle design.
Choosing Your Perfect Shield: Determining the Right Shower Screen for You
Several factors determine the best shower screen for your needs:
- Bathroom size: Consider how much space you have and if doors or walls are more suitable. Frameless screens work well in small bathrooms as they are space-efficient.
- Style: Frameless screens have a modern, minimalist look; framed screens look more traditional. Choose a style to complement your bathroom decor.
- Budget: Frameless screens tend to cost more than framed screens. Set a budget and choose options within that range.
- Ease of use: Doors may be easier for entering and exiting the shower. Three-walled screens require stepping over a ledge.
- Privacy: Full-length doors or three-walled provide more privacy than a partial wall.
- Safety: Frameless screens require secure installation to be stable. Framed screens may be safer for families with children.
- Customization: Frameless screens can be customized as they have minimal bracing. Framed and semi-frameless screens typically have standard sizing.
- Maintenance: Frameless screens require regular wiping down to prevent water spots. Framed screens are lower maintenance.
- Durability: Tempered glass shower screens tend to be very durable. Frameless screens last at least a decade, and framed screens 15 years or more.
- Accessories: Choose a screen that allows the installation of shower accessories like shelves, bars, seats, etc. Frameless screens typically offer more flexibility for accessory placement.
Step-by-Step Guide to Installing Your Bath Shower Screen
Professional installation is recommended for shower screens, especially frameless screens, to ensure it is securely and properly installed for safety and effectiveness. The basic installation steps include:
- Measure your shower opening carefully and purchase a specific screen to fit that space.
- Install wall channels/rails - The screen slides or mounts onto these channels. They must be properly reinforced to support the weight of the screen.
- Install pivots/hinges (for doors)/wall brackets (for fixed panels) - To hang and allow doors to swing. Fixed panels mount directly onto brackets.
- Install the shower tray/base (if not already existing) - The bottom of the screen rests on the lip of the tray to contain water.
- Attach rollers/wheels to the bottom of doors (if not pre-installed) - To allow doors to glide smoothly along the tray ledge.
- Lift and slide/mount the glass screen onto the channels/brackets/trays - Carefully lift with multiple people to avoid injury. Seal and caulk edges to prevent leaks.
- Test the installation - Run a shower to ensure no leaks or other issues before using.
- Add any desired accessories once the screen is installed.

Maintaining Your Shower Screen: Tips and Tricks
To keep your shower screen looking new and prevent damage, follow these tips:
- Wipe down glass doors and walls after each use to prevent water spots and soap residue. Use a squeegee to clear excess water, and then blot dry with a microfiber cloth.
- Use an ammonia-free glass cleaner and scrubber for hard water spots or soap scum. Avoid abrasive cleaners.
- Apply a protective sealant, like a rain-guard product. Reapply periodically based on product directions. This prevents water spots and makes cleaning easier.
- Prop doors open after use to allow air circulation and prevent trapped moisture. Close doors when not in use.
- Avoid slamming doors or banging fixed panels to prevent cracking.
- For framed or semi-frameless screens, wipe down the metal parts and ensure all corners are caulked to avoid damage or leaks.
- Perform regular inspections to check for any damage or needed repairs. Treat issues early to avoid replacement costs.
- For significant damage or after 10-15 years, shower screen replacement may be needed to ensure safety, effectiveness, and an attractive appearance.
Conclusion
Shower screens are a great way to add style and function to a bathroom. By considering your needs, space, style preferences, budget, and desired features, you can choose a high-quality screen to last for years to come. With regular cleaning and maintenance, your shower screen can remain an essential, beautiful part of your bathroom design.