
Australia is known for its stunning beaches, abundant sunshine, and laid-back lifestyle. In the heart of the home, the bathroom is an essential space that Aussies take pride in, often designed to reflect the calming and refreshing vibes of the great outdoors. An essential feature of any Australian bathroom is the glass shower screen. Fitting your own can be a rewarding experience, but to ensure you're up to the task, let's delve into the process of fitting a glass shower screen in your Australian home.

Why Choose Glass Shower Screens?
The Australian climate and lifestyle are unique, requiring adaptations to meet specific conditions. This is true for every aspect of home design, including the bathroom. Glass shower screens have rapidly gained popularity, serving both functional and aesthetic roles.
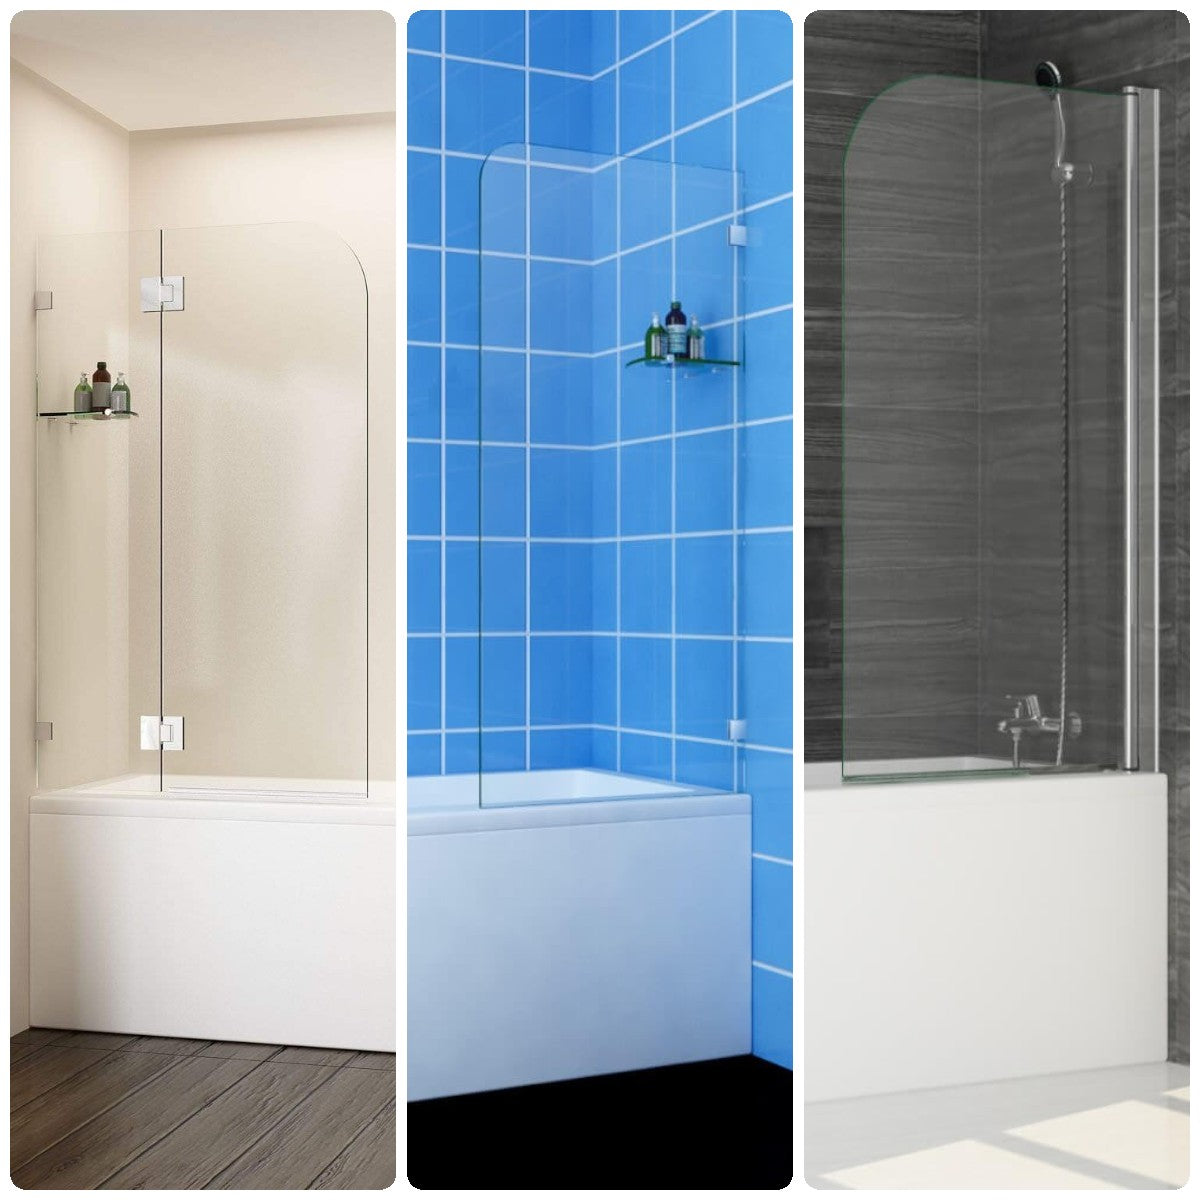
- Aesthetic Appeal:Glass shower screens seamlessly blend with any bathroom design. Available in a variety of styles and sizes, they offer flexible design solutions. The standard sizes range from 700mm for compact spaces to 1700mm for larger bathrooms. However, bespoke options can be tailored to meet unique dimensions or styles. This versatility allows you to enhance the aesthetic appeal of your bathroom, whether it is a small apartment bathroom in Sydney or a large bathroom in a Queensland homestead.
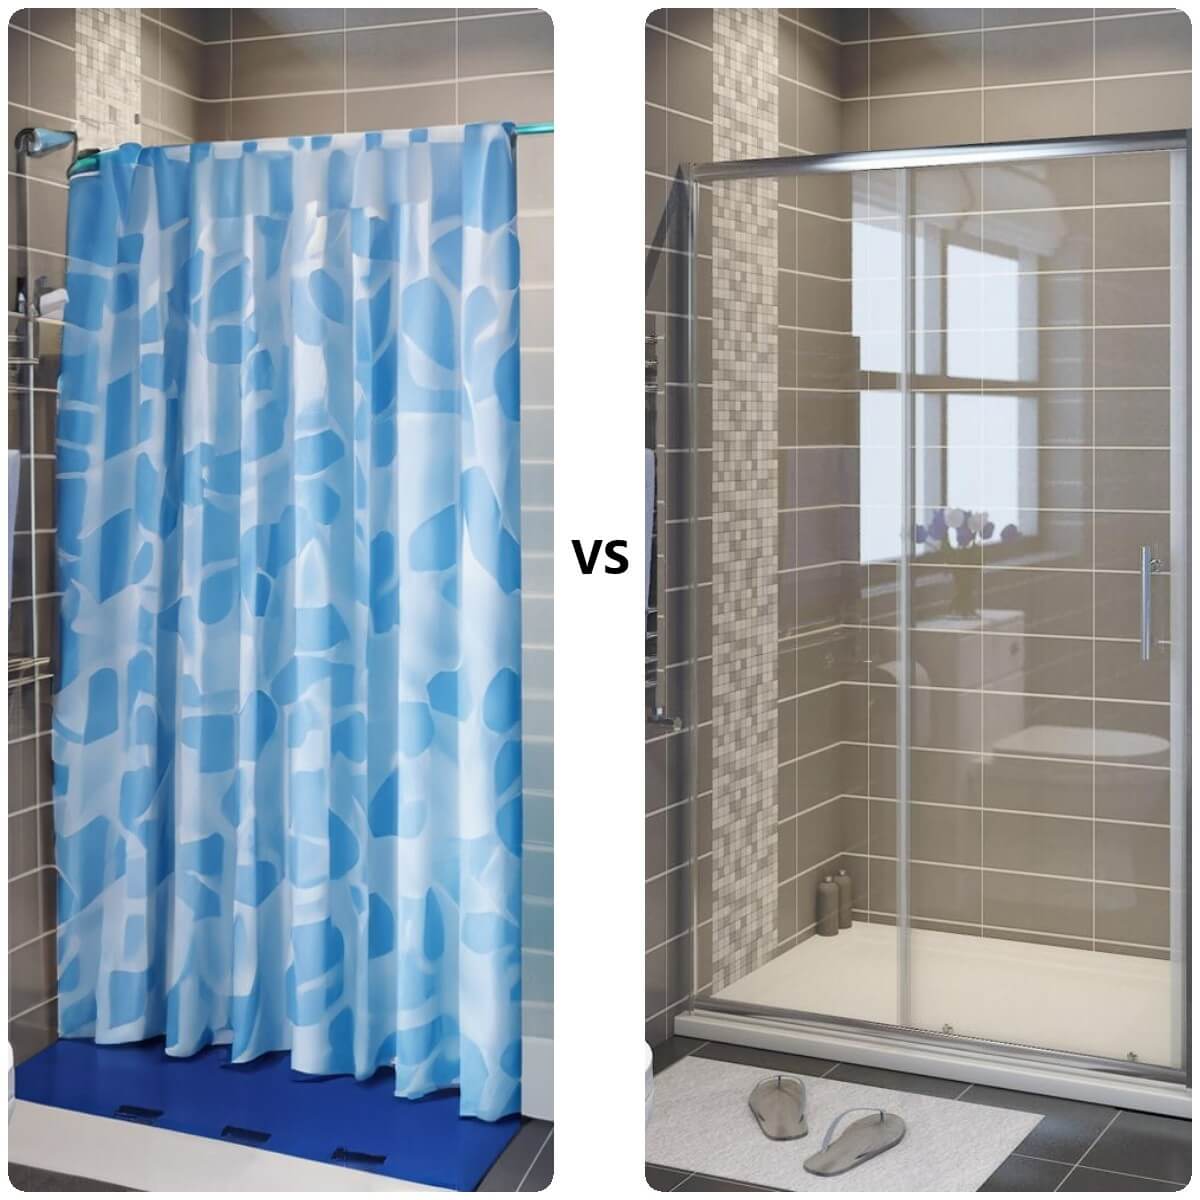
- Durability and Ease of Maintenance: Glass shower screens are designed to resist Australia's high humidity levels, particularly in regions such as Queensland and Western Australia. Unlike traditional shower curtains, glass screens are easy to clean, resistant to mould and mildew, and more durable.

What You Will Need to Install Glass Shower Screens?
The task of fitting a glass shower screen requires precision and the right tools:
Glass Shower Screen: Shower screens are generally provided in kits, which include all necessary components. In Australia, these screens must meet AS 1288 building codes, mandating the use of safety glass, which is either toughened or laminated. The typical thickness of the safety glass used for shower screens is 6mm for framed and semi-framed screens and 10mm for frameless screens.
A Drill with Correct Drill Bits: Different walls require specific drill bits. For instance, plasterboard walls require a plasterboard drill bit, brick walls need a masonry drill bit, and weatherboard walls require a wood drill bit.
Silicone Sealant: AS 3740-2010 (Waterproofing of domestic wet areas) stipulates that shower screens must be sealed with a silicone sealant to prevent water leakage.

Preparing for Installation
Preparation is a critical stage in the installation process:
Measure Your Space Accurately: The Australian Standard AS 1428.1-2009 recommends a minimum shower size of 900mm x 900mm. However, bathroom dimensions can vary widely. It's crucial to measure the width, height, and depth of your shower recess to select a shower screen that fits accurately.
Consider Architectural Nuances: High ceilings and narrower spaces often feature in character-filled Queenslander or Victorian-style homes, while modern apartments may have unique wall curvatures or floor levels. These must be considered when choosing and fitting your shower screen.

The Installation Process
Installing a glass shower screen is a step-by-step process that requires patience, precision, and attention to detail.
- Check the Components: Before starting the installation, lay out all the components that come with the kit. This typically includes the glass screen, hinges, handles, and all necessary screws and brackets. Making sure everything is accounted for will prevent any unwelcome surprises midway through installation.
- Mark the Positions: Using your level and tape measure, mark the positions for the hinges and brackets on your wall. These markings need to be straight and at the correct height to ensure a secure and level installation.
- Drill the Holes: Following the manufacturer's instructions and wearing your safety gear, carefully drill holes where you've marked. Each wall material will require a different type of drill bit and drilling technique. For example, if drilling into tiles, a diamond-tipped drill bit is usually recommended to prevent cracking.
- Attach the Brackets and Hinges: Attach the brackets and hinges to the wall using the screws provided. Using your level, ensure they're straight. This step might seem basic, but uneven brackets or hinges can result in a crooked installation or, worse, a shattered glass screen.
- Install the Glass Screen: Lift the glass shower screen into position carefully, preferably with the help of another person. Depending on the type of screen, you'll either fit it into the brackets or attach it using the hinges. Always ensure it's level before you tighten all screws fully.
- Apply Silicone Sealant: Lastly, seal the edges of the screen where it meets the wall and floor with a waterproof silicone sealant. This prevents water from leaking onto your bathroom floor, which is especially crucial in the high rainfall regions of Australia. Let the sealant dry completely before using the shower.
Final Thoughts
Installing a glass shower screen can be a rewarding DIY project that adds aesthetic and practical value to your bathroom.For a detailed, refer to the comprehensive instructions professional guide on installing a corner shower screen. However, if your bathroom has unique architectural features or you're not confident in the task, consider hiring a professional. Either way, the end goal is a sleek, modern, and functional bathroom that meets Australian standards and your personal needs.