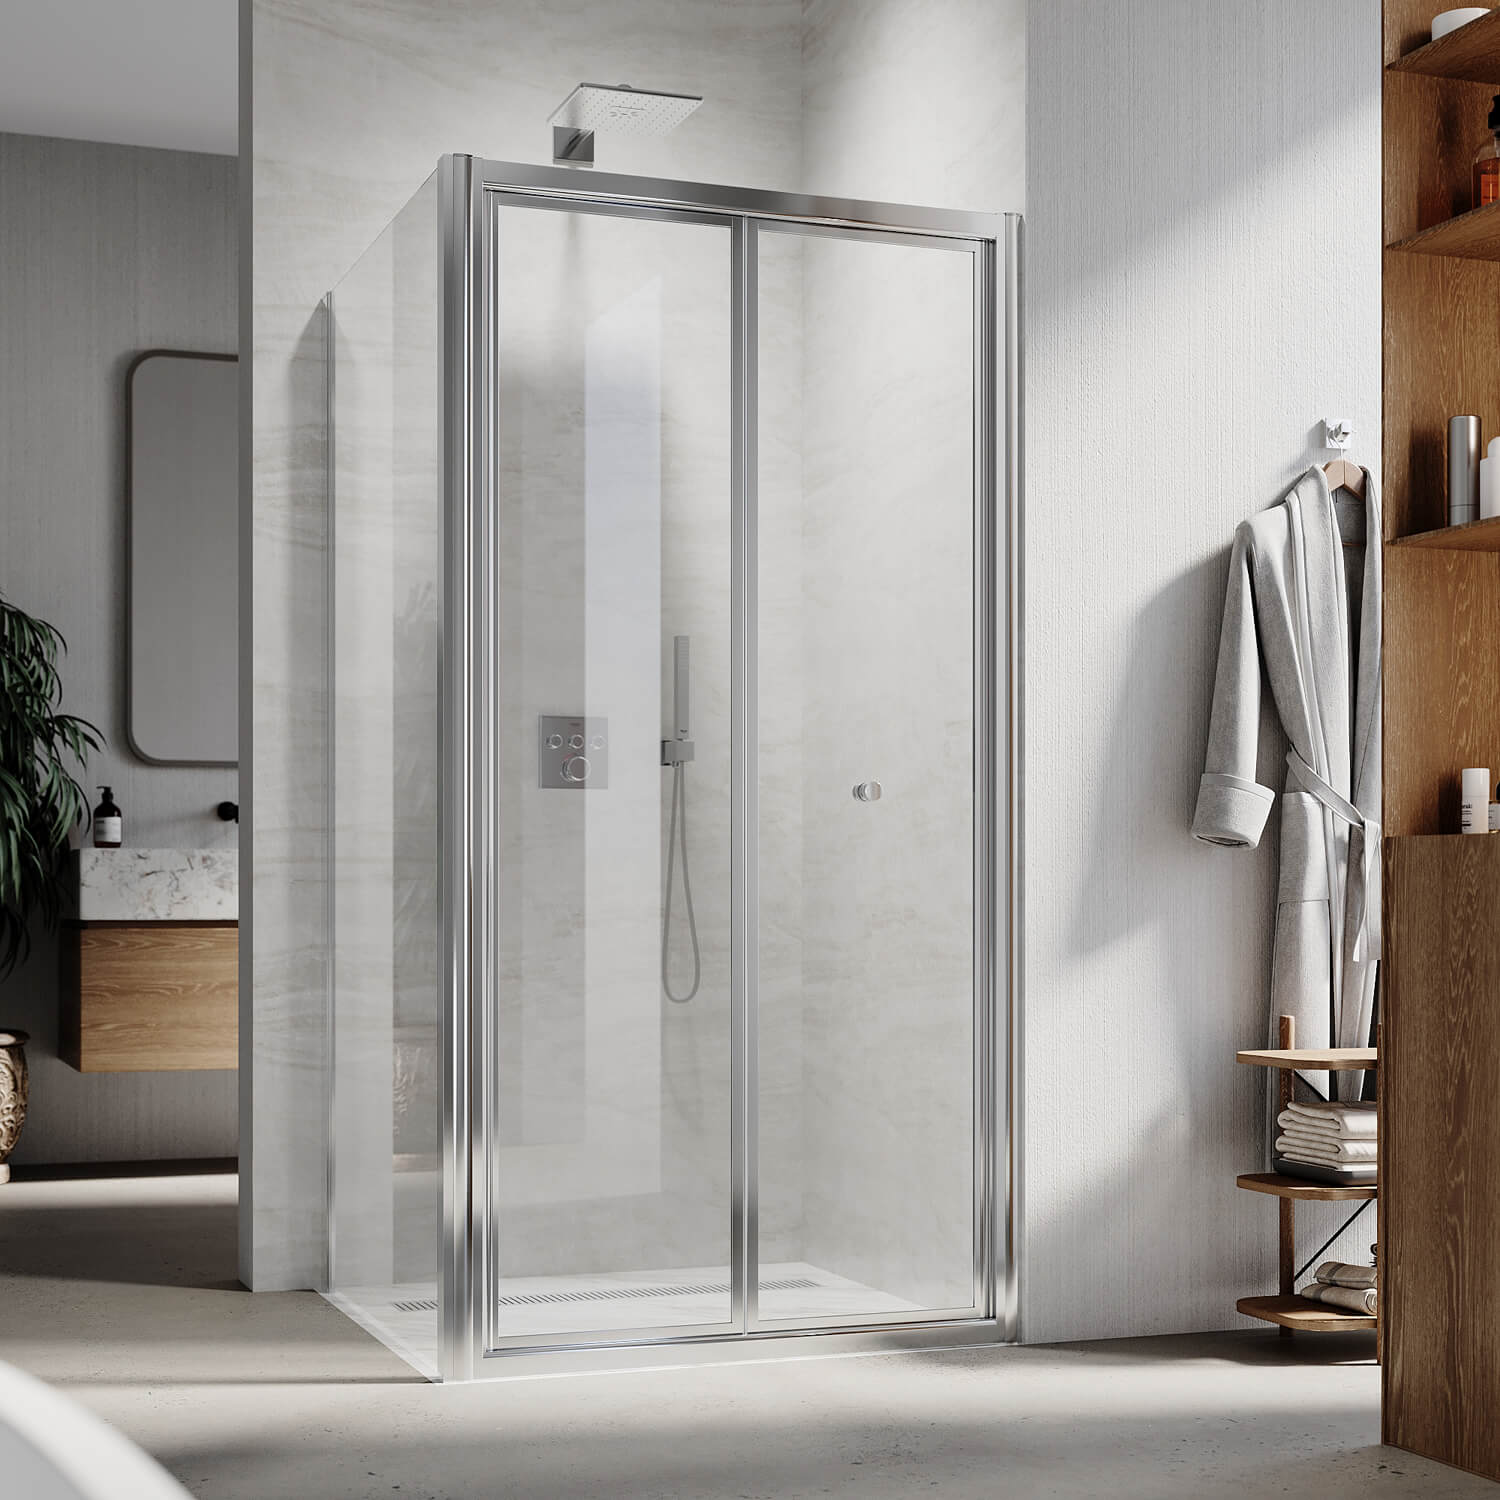

There’s nothing quite like the sinking feeling of unboxing a brand-new shower screen, only to discover it doesn’t fit. The gaps appear, the leaks begin, and your bathroom renovation suddenly becomes a costly nightmare. A miscalculation of just a few millimetres can lead to gaps, leaks, improper door function, or a complete refusal from your installer to fit it. The resulting costs for re-tiling, plumbing adjustments, or a brand-new screen can run into hundreds, if not thousands, of dollars.
The good news? This common source of stress is entirely preventable. Learning how to measure a shower screen correctly is the single most critical step you can take before ordering. This comprehensive guide will walk you through every step of the shower screen measurement process, covering different shower enclosure types, essential tools, Australian standards, and the common shower screen measuring mistakes that trip up even experienced DIYers.
By the end of this guide, you’ll be equipped to measure your shower enclosure with professional precision, ensuring a perfect fit, proper water containment, and a stunning bathroom finish.

Understanding Shower Screen Types Before You Measure
Before you grab your tape measure, you need to understand exactly what type of shower space you’re working with. Different shower configurations require different measurement approaches.
Shower Alcove / Recess
This is a three-walled enclosure that is common in Australian homes. The shower screen closes off the open side, creating a sealed showering space. Most alcove showers measure between 800mm and 1200mm in width.
Front-Only Shower Screen
A single panel that closes off one side of the shower. This is the simplest configuration to measure.
Front & Return Shower Enclosure
An L-shaped configuration with a front panel and a return panel. Common in corner installations where you need the screen to wrap around.
Corner Shower Screen
Available in square, rectangular, neo-angle, and quadrant configurations designed for 90-degree corners. These space-saving designs are popular in smaller Australian bathrooms.
Shower Over Bath / Bathtub Surround
A screen installed on the edge of a bathtub to create a combination shower and bath. These require special attention because bathtubs are often not perfectly level.
Shower Niche
While not the shower itself, this refers to integrated shelving within the shower wall. Measuring your niche accurately ensures that pre-made shelves or tile inserts fit perfectly.
Identifying your shower screen type before you start ensures you take the right measurements the first time.

Essential Tools for Measuring Your Shower Screen
You don’t need an extensive toolkit to measure your shower space accurately. Here’s what you’ll need:
A sturdy, retractable metal tape measure is essential for accurate shower measurements. Avoid cloth or fibreglass tapes that can stretch.
Read More >>>The Ultimate Guide to Measuring Your Shower for a Perfect Screen Fit

Golden Rules Before You Start Measuring
These principles separate amateur attempts from professional results. Internalise these four golden rules before you take a single measurement.
Rule 1: Measure in Millimetres (mm)
This is the standard unit for Australian building and manufacturing. Millimetres provide the precision needed for a perfect fit, and all suppliers expect measurements in this format. Never use inches or centimetres.
Rule 2: The Triple-Check Rule
Measure the width of the space at the top, middle, and bottom. This helps account for any variations in the wall. Always use the smallest measurement as your reference.
Rule 3: Never Assume Walls Are Straight or Corners Are Square
In almost all homes, walls tilt (are “out of plumb”) and corners are not perfect 90 degrees. A 900mm space at the bottom of the recess may have shrunk to 895mm near the top.
Rule 4: Measure After Tiling Is Completed
Measurements must be taken from finished surfaces. Tiling needs to be completed before a shower screen can be measured.
Rule 5: Record Everything Clearly on a Rough Sketch
A simple diagram of your shower area with all measurements prevents confusion.
Standard Shower Screen Sizes in Australia
Understanding standard dimensions helps you know what to expect and when you might need a custom solution.

Standard Height Ranges
-
Most common semi-framed heights: 1850mm and 1950mm
-
Standard height for semi-framed screens: 1950mm

Standard Width Ranges by Screen Type
Standard Shower Recess Sizes
The typical shower recess in an Australian home measures 900mm x 900mm. Many new homes are starting to use 1000mm x 1000mm and rectangular 1200mm x 900mm recesses.
Glass Thickness by Type (Australian Standard AS/NZS 2208)
The Building Code of Australia requires shower screens and shower doors to comply with Australian Standards. The minimum thickness requirements are:
All glass used in shower screens must be Grade A (toughened and laminated) safety glass. AS/NZS 2208 details the test requirements for glass including toughened glass.

How to Check for Out-of-Plumb Walls and Uneven Floors
As houses age, it’s common for walls to move slightly out of plumb so they are no longer exactly square. Your glass shower screen panel is manufactured with precise 90-degree angles.
How to Check for Plumb Walls
Place your spirit level on the wall where your shower screen will be positioned. If the wall is out of plumb, measure the distance between the wall and the level. This “overflow” measurement that stretches beyond the 90-degree angle is known as runout.
To measure for out-of-plumb walls, perform a 3-point check by taking horizontal width measurements at the top, middle, and bottom of the shower opening. The difference between these three numbers represents the wall runout or variance.
Tolerance Guidelines
-
Semi-framed panels: Maximum runout tolerance is typically 10mm
-
Adjustable semi-frameless screens: Can accommodate up to 20mm of wall runout per side using a telescoping wall channel
-
Standard fixed panel: Zero tolerance
If your wall is out of square and exceeds the listed tolerances, a custom shower screen panel can be made for your project.
How to Check Floor Level
Like walls, floors can also shift over time in older homes. In many bathrooms, the floor will not be completely level at every point. Place your spirit level on the floor to check. Bathrooms are also designed with a slight slope in the floor to direct water towards the drain.

Common Shower Screen Measuring Mistakes to Avoid
Mistake 1: Measuring Only Once
Walls taper or bow, so a single measurement is inaccurate. Always measure three times (top, middle, bottom) and use the smallest measurement.
Mistake 2: Assuming Walls Are Square
Most walls are out of plumb – always check with a spirit level.
Mistake 3: Measuring Before Tiling Is Complete
Always measure from finished surfaces. Tiling needs to be completed before a shower screen can be measured.
Mistake 4: Using the Wrong Units
Always use millimetres (mm). Never use centimetres or inches.
Mistake 5: Forgetting to Check for Obstructions
Feature tiles, profiled borders, bulkheads, and high windows can all affect where your screen sits.
Mistake 6: Not Accounting for Door Swing
Consider the layout of your bathroom and the direction the shower screen will open. Will it hit the toilet or vanity?
Mistake 7: Failing to Check Floor Level
Floors are often not perfectly level. Measure and compensate.
Mistake 8: Ignoring Floor Drainage Slopes
Bathrooms are designed with a slight slope in the floor to direct water towards the drain. If you don’t account for this slope, your shower screen could end up sitting unevenly or leaking water.
How to Measure a Corner Shower Screen
Corner shower screens come in several configurations: square (equal return panels like 900×900mm), rectangular (one panel longer, like 1000×800mm), neo-angle (angled front for a walk-in look), and quadrant (curved glass, space-saving design).
Step 1: Measure Both Return Panels
For corner showers, measure the size from the wall to the corner on both sides. Measure to the outside point to where you want the shower screen to finish.
Step 2: Measure the Height
Australian shower screen height typically ranges from 1900mm to 2100mm, with 2000mm (2 metres) being the industry standard.
Step 3: Check the Radius (Semicircular Screens)
For quadrant or semicircular corner screens, verify the radius – typically R500 (Roca) or R550 (Italian).
Read More>>>The Complete Guide to Corner Shower Screen Sizes and How to Measure
How to Measure a Shower Screen Over a Bathtub
Bath screens prevent water from splashing out when you shower over the bath. These require special attention because bathtubs are often not perfectly level.
Step 1: Measure the Width Along the Bath Rim
Measure from the wall along the bath rim to determine how much of the showering area you want to cover. Standard over-bath shower screen width in Australia ranges from 750mm to 900mm, with 800mm and 900mm being the most common.
Step 2: Measure the Height
Measure from the top edge of the bath upwards. Their height is lower than standard shower screens, typically 1400mm to 1500mm from the tub edge.
Step 3: Special Considerations
Check the position of your shower head and look for any obstructions like taps or soap dishes. Ensure the screen provides sufficient water coverage from the showerhead.
Read More>>>How to measure Over-Bath Shower Screen?
How to Measure for a Custom Shower Screen
When Is a Custom Screen Needed?
-
Non-standard shower recess dimensions
-
Unique architectural features or heritage homes
-
Specific aesthetic requirements (e.g., aligning with feature tiles)
Steps for Custom Measurement
-
Follow all standard measuring procedures (height, width, return)
-
Record detailed notes on all irregularities
-
Note exact positions of obstructions and feature tiles
-
Take photographs of the space for reference
-
Provide all measurements and notes to your supplier
What to Expect
Custom made-to-measure shower screens are designed around the exact dimensions, angles, and quirks of your bathroom, ensuring a superior fit, better functionality, and a cleaner overall look. They outperform standard screens in every meaningful way. Expect longer lead times and higher costs than standard sizes, but the perfect fit is worth the investment.
Frequently Asked Questions (FAQs) about Shower Screen Measurements
What is the standard shower screen height in Australia?
Standard shower screen heights in Australia range between 1800mm and 2200mm. The most common options are 1850mm and 1950mm for semi-framed screens, while 2000mm is the industry standard for frameless screens.
How do I measure for a shower screen replacement?
Measure the height, width, and depth of the shower area. Take measurements at the top, middle, and bottom of the opening. Note any obstructions or irregularities in the walls or floor. Always measure in millimetres and use the smallest measurement.
What is the most common shower screen size in Australia?
The most common shower recess in Australian homes is 900mm × 900mm. Newer homes increasingly use 1000mm × 1000mm or rectangular 1200mm × 900mm recesses.
What glass thickness do I need for my shower screen?
This depends on the screen type:
-
Frameless screens: 10mm
How much gap should I leave when measuring a shower screen?
Compensation profiles typically allow for adjustments. For front screens, measure three times (highest, middle, lowest), use the smallest measurement, and subtract 5mm from the lowest measurement. Always check with your supplier for specific tolerance recommendations.
The Final Words
Learning how to measure a shower screen correctly is the most critical step in any bathroom renovation project. Accurate shower screen measurement ensures a perfect fit, proper water containment, and a professional-looking finish.
Remember the golden rules: measure in millimetres, measure three times, never assume walls are straight, and always measure after tiling is complete. By following this comprehensive guide, you’ll avoid costly shower screen measuring mistakes and approach your supplier with confidence.
Now that you have your precise measurements in hand, it’s time to explore the right solution for your space. Whether you are looking for a sleek frameless shower screen, a space-saving corner enclosure, or a durable semi-frameless design, having accurate dimensions is the key to unlocking a world of premium options. For a comprehensive range of high-quality shower screens, expert advice, and tailored solutions that suit Australian homes and standards, visit https://www.elegantshowers.com.au/ today. Explore their extensive collection and find the perfect match for your bathroom renovation.