
Did you just order a brand new shower screen, only to find it doesn't fit properly when it arrives? This is where the leaks begin, cold drafts creep in, and your bathroom's aesthetic falls apart. You will come across the need to measure everything accurately before placing that order.
Will my shower screen leak if the measurements are wrong? What happens if my walls aren't perfectly straight? Is there a foolproof way to get accurate measurements myself? Read on and let's find answers to all these questions.
This guide is designed to demystify the process for the DIY enthusiast. You will save both time and money by taking your own measurements with confidence. Accurate measurements lead to a perfect shower screen fit, a professional-looking finish, and the ability to communicate effectively when dealing with suppliers. We will cover different shower screen types including alcoves, niches, and bathtubs, the tools you need, and a step-by-step process with clear instructions.

Identifying Your Shower Type for Accurate Measurement
Before you grab your tape measure, you need to understand exactly what type of shower space you're working with. Different shower configurations require different measurement approaches. Let's take a quick look at the three main types this article will cover.
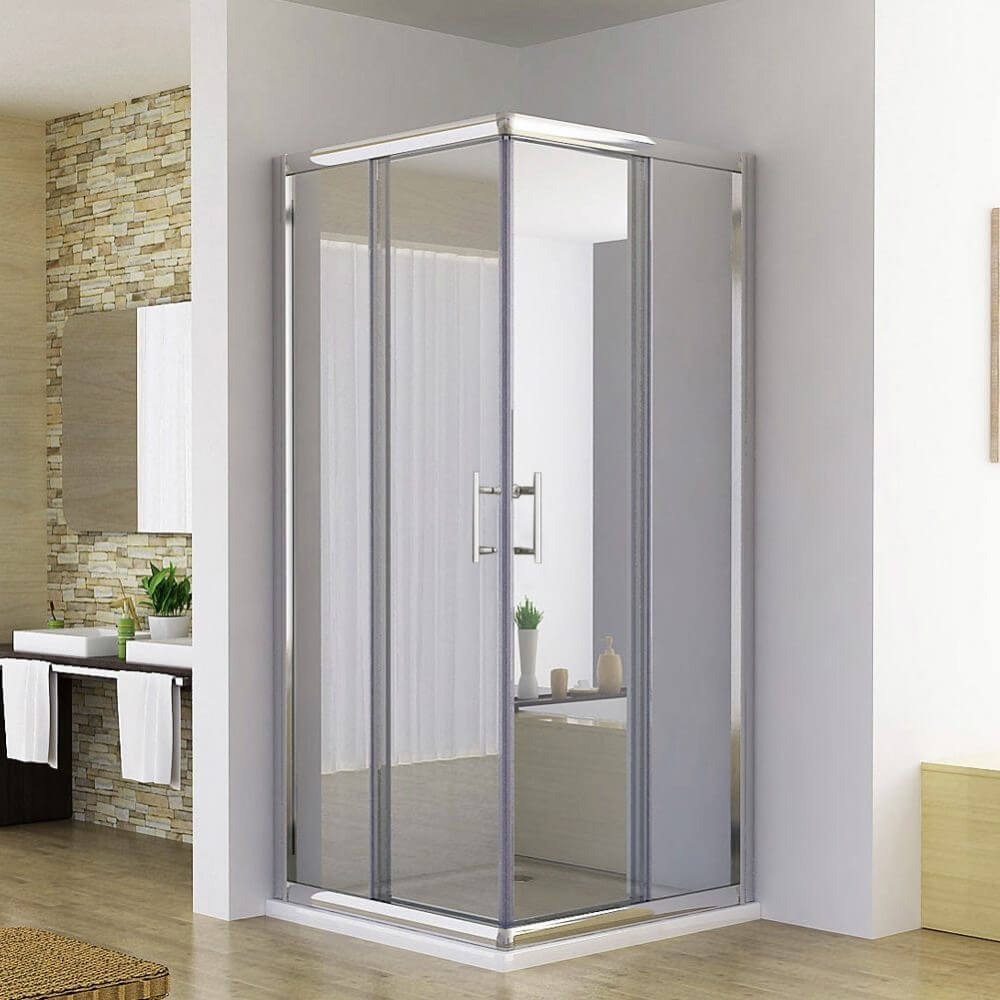
Shower Alcove / Recess
This is a three-walled enclosure that is common in Australian homes. The shower screen closes off the open side, creating a sealed showering space. Most alcove showers measure between 800mm and 1200mm in width.
Shower Niche
This refers to the integrated shelving within the shower wall. While not the shower itself, measuring your niche accurately ensures that pre-made shelves or tile inserts fit perfectly. Niches are typically built into the wall during construction or renovation.
Bathtub Surround / Shower Over Bath
This is where you measure the area for a screen that will be installed on a bathtub. Bath screens prevent water from splashing out when you shower over the bath. These require special attention because bathtubs are often not perfectly level.

Gathering Your Tools for Measuring Your Shower
You don't need an extensive toolkit to measure your shower space accurately. However, having the right tools makes a significant difference to your final results. Here's what you will need before you begin.
· Metal Tape Measure
Always use a metal tape measure rather than a cloth one. Metal measures provide far more accuracy and won't stretch or sag when extended across large spaces. A steel measuring tape is the professional's choice.
· Notepad and Pen/Pencil
You will be recording multiple measurements at different points. Keep everything organized by writing down each measurement as you go. Sketching a simple diagram helps tremendously.
· Spirit Level
This tool checks whether your walls are truly vertical (plumb) and whether surfaces are horizontal (level). Many shower installation problems stem from walls that aren't plumb.
· Calculator
While optional, a calculator proves useful for area calculations or when you need to convert measurements. Most shower screen suppliers work in millimeters in Australia.
· A Partner
Having someone hold the other end of the tape measure makes the job easier and more accurate. This is especially helpful when measuring height or checking multiple points simultaneously.

Fundamental Rules for How to Measure a Shower
Before you start measuring specific areas, you need to understand the golden rules that apply to all shower measurements. These principles separate amateur attempts from professional results.
· Measure in Millimeters (mm)
This is the standard unit for Australian building and manufacturing. Millimeters provide the precision needed for a perfect fit, and all suppliers expect measurements in this format. Don't use inches or centimeters.
· The Triple-Check Rule
Always measure at least three points for both width and height. Take measurements at the top, middle, and bottom because walls are rarely perfectly straight or plumb. You will almost always find variations between these measurements.
· Check for Plumb and Square
"Plumb" means perfectly vertical, while "square" refers to 90-degree corners. Use your spirit level to check both side walls and the floor. This step is critical for a perfect fit and helps you understand any tolerance issues.
· Record Everything Clearly
Sketch a simple diagram of your shower space and label all measurements clearly. Include notes about any walls that lean or floors that slope. This documentation becomes invaluable when ordering from suppliers.
When recording measurements, always note the smallest dimension you measured. Most shower screens in Australia are designed to accommodate out of plumb walls, with width tolerances typically around 60mm for the front panel and 20mm for return panels.
How to Measure a Shower Alcove or Recess for a Screen
This is where the rubber meets the road for most Australian homeowners. The shower alcove, or recess, is the most common bathroom layout, and getting these measurements wrong is the primary cause of ill-fitting screens. Follow these steps meticulously, and you will have all the data needed for a perfect shower screen fit.
Step-by-Step Guide to Measuring Your Shower Alcove
Measuring a shower alcove properly requires attention to detail and systematic recording. This is the most common shower configuration, so getting it right matters tremendously.
Step 1: Measuring the Shower Width
Start by measuring the width from wall to wall at three distinct points. Place your tape measure flush against one wall and extend it to the opposite wall at the top of the recess where the screen will be installed. Record this measurement.
Next, measure the width at the middle height of the recess. This is typically around 900mm to 1000mm from the floor. Finally, measure the width at the bottom, right where the shower base meets the walls.
You will likely find that these three measurements differ slightly. Always record the smallest measurement as your "width to manufacture." This ensures the screen will fit even in the narrowest section.
Step 2: Measuring the Shower Height
Standard shower screen heights in Australia range between 1800mm and 2200mm, with 1850mm and 1950mm being the most common options. Measure from the finished shower floor or tray up to where you want the screen to end.
Take this measurement on the left side, center, and right side of the recess. The height should not exceed your tile height, as you need to protect the plaster above. Also consider whether the screen will provide adequate coverage from the showerhead spray.
Record the smallest of the three height measurements. This becomes your specified height when ordering the screen.
Step 3: Measuring the Depth of the Recess
The depth measurement becomes important if you're installing bi-fold or pivot doors. Measure from the front edge of the shower base or tile line back to the rear wall. This measurement tells you how much space the door has to operate.
For pivot doors, you need sufficient depth to allow the door to swing open without hitting fixtures or the opposite wall. Typical recess depths range from 800mm to 1800mm.
Step 4: Checking for Wall Plumb
Place your spirit level vertically against each side wall of the recess. Check whether the bubble sits perfectly centered, indicating a plumb wall. If the bubble moves to one side, the wall is leaning.
Note any significant deviations in your measurements. For example, write "left wall leans out by 5mm at the top" or "right wall leans in by 3mm." This information helps installers make adjustments.
Most Australian shower screens can accommodate walls that are out of plumb by small amounts. However, significant deviations may require custom solutions.
Step 5: Documenting Your Alcove Measurements
Create a clear summary of all your measurements. Write something like: "Supply shower screen for alcove opening of 900mm (width) x 1950mm (height).
Include a simple sketch showing the three-walled recess with all measurements labeled. This visual reference prevents confusion when discussing your requirements with suppliers.

Measuring Your Shower Niche for Shelves and Inserts
Shower niches provide convenient storage for shampoo bottles and soap. Measuring them accurately ensures that pre-made niche shelves, tile inserts, or accessories fit perfectly without gaps.
Step 1: Measure Niche Width
Measure the internal width of the niche at three points. Start at the top, measuring from the inside of one side wall to the inside of the opposite side wall. Repeat this measurement at the middle and bottom of the niche.
Record the smallest of these three measurements. Wall irregularities are common even in small spaces like niches. Using the smallest dimension prevents ordering shelves that won't fit.
Step 2: Measure Niche Height
Using the same three-point approach, measure the internal height of the niche. Take measurements on the left side, center, and right side, measuring from the bottom surface to the top surface.
Again, record the smallest measurement. This ensures any shelf or insert you order will fit within the available height.
Step 3: Measure Niche Depth
Depth refers to how far back the niche extends into the wall. Measure from the front opening to the back wall at all four corners of the niche. Depths can vary even within a single niche.
Record the smallest depth measurement. This tells you how much storage space you have and ensures that any accessories you install don't protrude beyond the niche opening.
Step 4: Note the Reveal
Check whether the niche is flush with your wall tiles or recessed behind them. This detail affects the visual appearance of any shelf you install. A flush niche allows the shelf to sit seamlessly with the wall, while a recessed niche creates a framed appearance.
Make a note on your sketch indicating the reveal depth if applicable. This information helps when selecting finishing materials.

Measuring Your Bathtub Surround for a Perfect Screen Fit
Bathtubs present unique measurement challenges because they are often not level, and the rim profile varies between models. Getting these measurements right prevents leaks and ensures smooth door operation.
Step 1: Determine the Tub Profile
Examine the rim of your bathtub carefully. Is it straight, curved, or sloped? This profile determines what type of screen will work and how the seal attaches.
Curved rims require screens with adjustable seals. Straight rims provide a more straightforward installation surface. Note the profile type in your documentation.
Step 2: Measure the Bathtub Length
This is the critical measurement for the screen's rail system. Measure along the top edge of the bathtub where the screen will sit. Start from the wall and measure to where you want the screen to end.
Most bath screens measure around 1400mm in height but vary in width. You want the screen wide enough to prevent water splashing beyond the end onto the floor.
Take this measurement at the very top of the rim where the screen channel will be mounted. Ensure the measuring tape follows any curves in the tub edge.
Step 3: Check the Bathtub for Level
Place your spirit level along the length of the tub rim. This step is crucial because a screen fitted to an unlevel tub will leak. The water seal depends on the screen sitting evenly against the tub.
If the tub isn't level, note where the high and low points are. Record how much variation exists from one end to the other. This information allows installers to adjust the screen accordingly.
Bath screens should be positioned 4-5mm from the edge of the tub if there's no lip or sitting inside the lip if one exists.
Step 4: Measure for Side Panels
Some bath screens include a fixed side panel that creates an enclosed showering area. If your installation requires this, measure the height and width needed for the side panel.
Check that the adjacent wall is plumb using your spirit level. Measure from the rear wall to the front edge of the tub, adding 10mm to the measurement if you have a tiled recess.
Record these measurements separately from the main screen dimensions. Note any out-of-plumb conditions on the side wall.
Conclusion: Measure Twice, Order Once for a Perfect Shower Screen Fit
You now have the complete knowledge needed to measure your shower space with professional accuracy. These measurement techniques empower you to take control of your bathroom renovation project. You will communicate confidently with suppliers and avoid the costly mistakes that come from incorrect dimensions.
With this guide in hand, you are equipped to tackle measurements for alcove showers, niches, and bathtub surrounds. Remember the golden rules: measure in millimeters, take three measurements for every dimension, check for plumb and level, and always record the smallest measurement.
Grab your tape measure and spirit level, follow the steps outlined above, and take the first step towards your dream bathroom today. Accurate measurements transform a potentially frustrating installation into a smooth, professional-looking result that you'll enjoy for years.
Visit Elegant Showers AU for more shower screen solutions with professional consultants. They can help you turn your measurements into the perfect shower screen for your home.