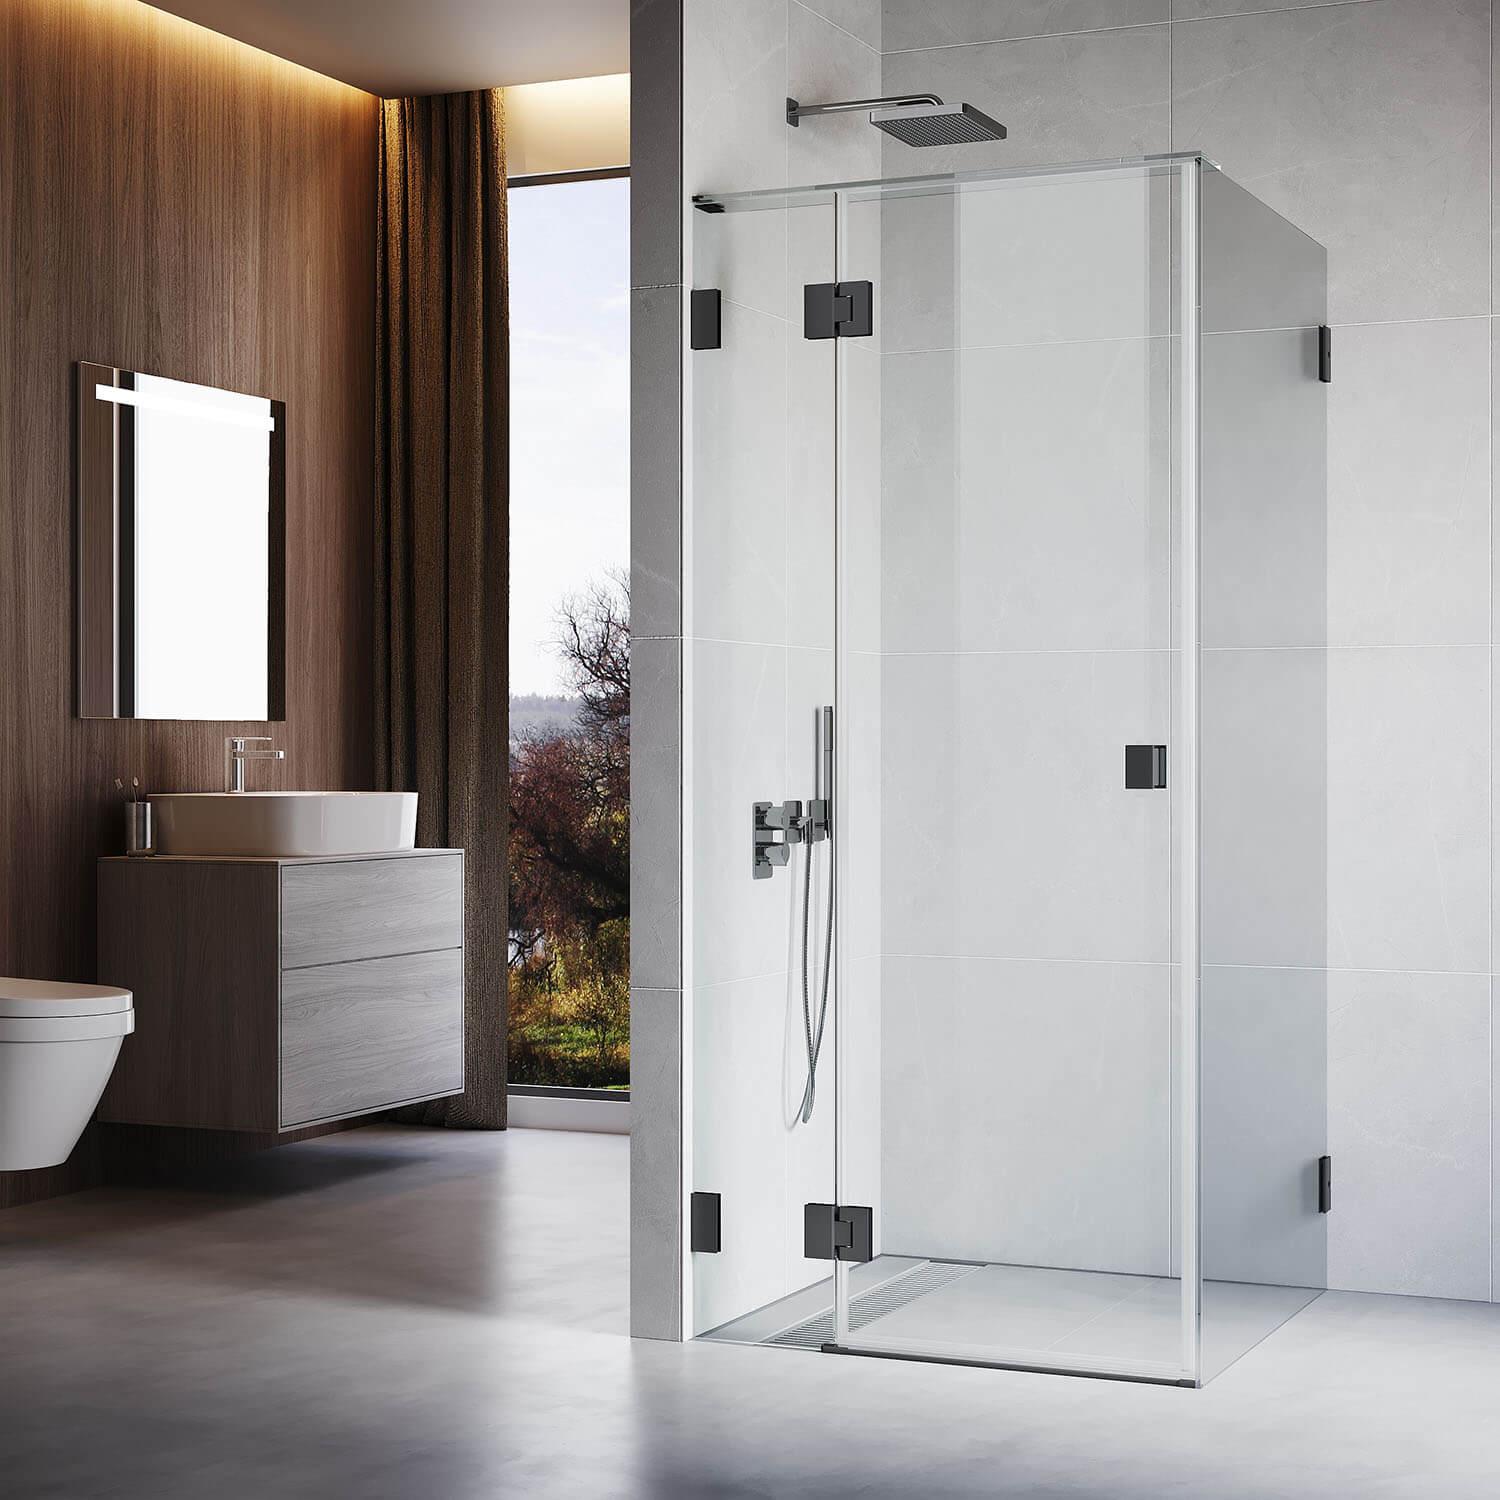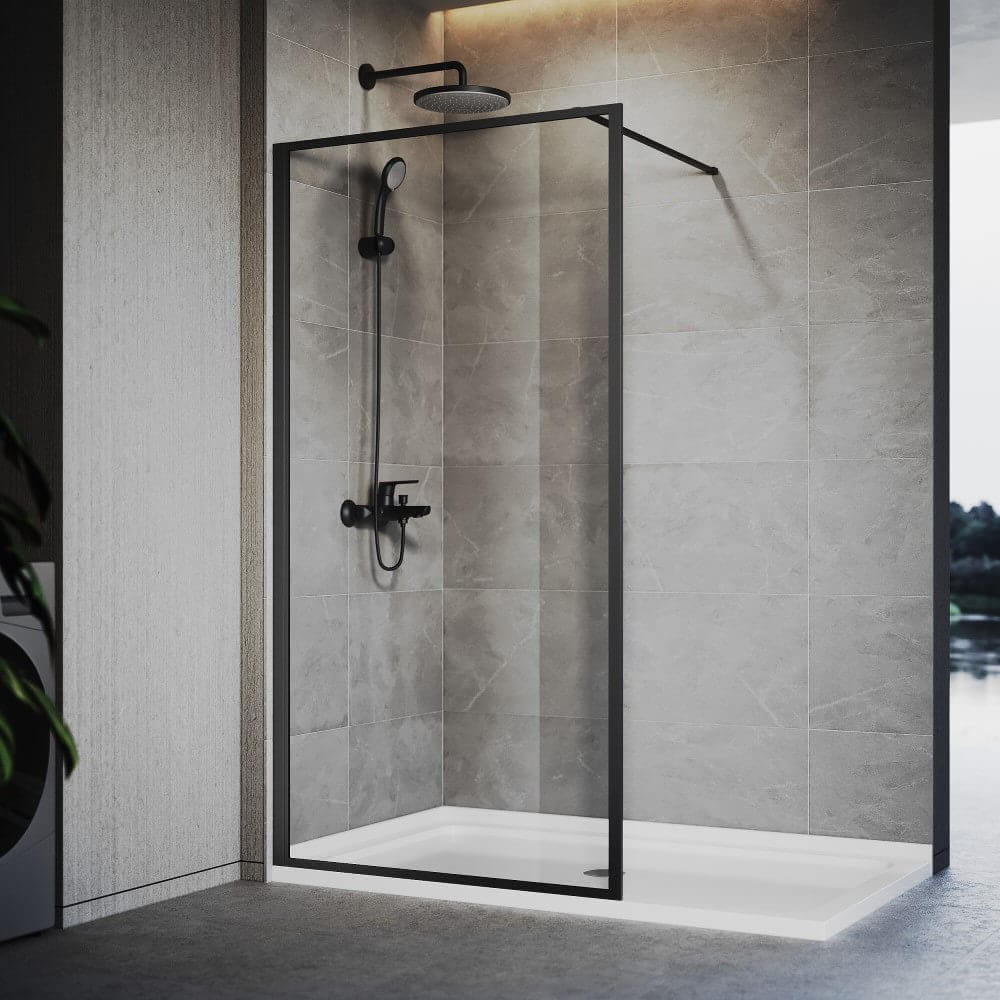

The sleek, uninterrupted view of a frameless shower screen has become the holy grail of modern bathroom design. It transforms a functional space into a spa-like oasis, flooding the room with light and creating an illusion of more space. However, when that box from the supplier arrives at your door, a daunting question arises: Is frameless shower screen installation a project I can tackle myself, or is this a job strictly for the professionals?
This isn't just a question of saving money; it's about safety, precision, and protecting one of your home's most vulnerable areas from water damage. The journey from unboxing to a perfectly hung, water-tight shower screen is fraught with complexity. This comprehensive guide will dissect the DIY shower screen installation process, the significant risks involved, the stringent Australian Standards for shower screens, and ultimately, why hiring a professional shower screen installer is so often the wisest—and most cost-effective—choice.

Complexity of Frameless Shower Screen Installation
At first glance, installing a frameless shower door might seem straightforward: attach some brackets to the wall, hang the glass, and apply sealant. In reality, shower screen installation is a precision task where millimetres matter and there is zero tolerance for error.
Precision is Non-Negotiable
The core challenge lies in the fact that frameless glass is completely rigid. Unlike a framed unit, which can be shimmied and adjusted within its channel, a frameless shower screen relies on perfectly aligned, fixed points. Your walls must be plumb, your shower base or tray must be perfectly level, and all measurements must be exact. If your walls are out of square—a common scenario in many homes—the large, expensive glass panel will not fit correctly, leading to uneven gaps, undue stress on the glass, and persistent leaks.
Every Shower Recess is a Unique Puzzle
Professionals know that no two shower alcoves are identical. You may be dealing with existing tiles that are not perfectly flat, a hob that isn’t straight, or plumbing fixtures that interfere with the desired layout. A skilled shower screen installer assesses these variables on-site, often using custom templates for custom shower screen installation, to ensure the final product fits flawlessly within the imperfect reality of your bathroom.

The Essential Tool Kit for Shower Screen Installation
Attempting a DIY shower screen installation with a basic home toolkit is a recipe for disaster. The specialised equipment required represents a significant investment for a one-off job.
Measuring and Marking Tools
A basic spirit level won't suffice. You need a laser level to project perfectly straight, level, and plumb lines across multiple surfaces simultaneously. High-quality tape measures, metal rules, and non-permanent marking pencils are also essential.
Cutting and Drilling Tools
This is where many DIY attempts fail catastrophically. You require a high-torque drill with a hammer function for masonry. Critically, you need diamond-tipped drill bits and hole saws capable of cleanly drilling through hard bathroom tiles without cracking or shattering them. Using the wrong bit can destroy a tile and, more importantly, puncture the waterproof membrane beneath.
Handling and Support Tools
A standard 10mm or 12mm thick toughened glass shower screen panel is incredibly heavy and awkward to manoeuvre. Professional shower screen installers always use heavy-duty glass suction lifters (at least two) to safely grip and position the glass. Sturdy props and protective padding are also non-negotiable to hold the panel in place during fitting.
Sealing and Finishing Tools
A cheap silicone gun will deliver a messy, uneven bead. A professional-grade gun provides smooth, controlled application. You’ll also need sealant profiling tools and isopropyl alcohol for a perfect, clean finish.
Australian Standards for Shower Screen Installation: The Rulebook
Professional shower screen installers don’t just work from experience; they adhere to a strict legal and safety framework. Key Australian Standards for shower screens include:
-
AS/NZS 2208:1996 (Safety glazing for buildings): Mandates the use of toughened safety glass in shower areas to prevent injury from breakage.
-
AS 1288:2006 (Glass in buildings): Governs the selection and installation of glass, including minimum thickness requirements for given sizes.
-
AS 3740-2010 (Waterproofing of domestic wet areas): The critical standard for wet area waterproofing. It dictates how and where waterproofing must be applied, which a professional installer understands deeply to avoid compromising it.
-
AS 4667-2015 (Safety of glass doors): Specifies testing requirements for components like hinges, handles, and their fixings, ensuring they can withstand repeated use.
A professional installer ensures your installation is compliant, which is not just about safety but also about legal responsibility and protecting your property value.

The Professional Shower Screen Installation Process Unveiled
Understanding what you pay for demystifies the value of a professional shower screen installation service.
Step 1: Precise Site Assessment and Measurement. A pro doesn’t just measure width and height. They use lasers to check for plumb, level, and squareness. They identify the exact location of wall studs or solid masonry for secure fixing and note any potential obstacles.
Step 2: Expert Handling and Positioning. Using professional equipment, they safely manoeuvre the heavy glass into position without risk to your property, the product, or themselves.
Step 3: Skilled Drilling and Fixing. With the right tools and technique, they drill clean, precise holes through your tiles without damage. They select and install the correct heavy-duty anchors, ensuring brackets are immovably fixed to a solid substrate.
Step 4: Perfect Alignment and Adjustment. Before any bracket is fully tightened, the glass is meticulously levelled and plumbed using shims and micro-adjustments in the hardware. This ensures the door swings flawlessly and all gaps are even.
Step 5: High-Standard Sealing. A professional will clean all surfaces with alcohol, apply a continuous bead of high-quality, mould-resistant shower sealant silicone, and tool it to create a smooth, effective, and aesthetic waterproof seal that complies with AS 3740.
DIY vs. Professional Shower Screen Installation: A Cost-Benefit Analysis
Let's break down the true shower screen installation cost.
The True Cost of DIY:
-
Cost of the shower screen unit.
-
Investment in specialised shower screen installation tools (laser level, diamond bits, suction lifters, etc.).
-
Your valuable time (often 2-3 times longer than a professional).
-
The high probability of costly errors: damaged glass ($hundreds-$thousands), compromised waterproofing (repairs costing $10,000+), and voided warranties.
The Value of Professional Installation:
-
The quoted shower screen installation price is all-inclusive: expertise, labour, insurance, and often a guarantee on their workmanship.
-
Compliance with Australian Standards, ensuring safety and legality.
-
Validation of the manufacturer’s warranty.
-
Peace of mind that the job is done correctly, protecting your home from water damage.
-
The job is completed efficiently, often within 2-4 hours, with a 24-hour sealant cure time.
While the upfront DIY shower screen installation cost seems lower, the long-term financial risk is substantial. Professional installation is an investment in quality, safety, and peace of mind.
When Might DIY Shower Screen Installation Be Feasible?
It is only conceivable for a highly skilled and experienced DIYer under very specific conditions:
-
Installing a smaller, pre-fabricated, or semi-frameless shower screen (which is more forgiving).
-
In a brand-new bathroom where you have confirmed the walls are perfectly plumb and square and the shower base is perfectly level.
-
You have direct experience handling heavy glass, precision drilling into tiled surfaces, and a thorough understanding of wet area waterproofing principles.
-
You are willing to accept all risks regarding potential damage, waterproofing failure, and voided product warranties.
Conclusion: The Professional Verdict on Shower Screen Installation
The allure of a DIY project is understandable, but frameless shower screen installation sits firmly in the domain of skilled trades. The combination of handling hazardous materials, the absolute requirement for precision, and the severe consequences of compromising your bathroom’s waterproofing creates a high-stakes scenario.
The Australian Standards for shower screens exist for a reason: to ensure safety and durability. While the cost of a professional shower screen installer is an upfront expense, it is a safeguard against exponentially higher costs down the line. For the safety of your household, the protection of your property, and the flawless finish you desire, investing in professional shower screen installation is not just a recommendation—it is the only prudent choice.
Ready to transform your bathroom with confidence? For expert advice, premium frameless shower screen solutions, and installation by licensed professionals who guarantee compliance with all Australian Standards, visit Elegant Showers. Our team provides professional consultation to help you select the perfect design and ensure a flawless, waterproof installation that offers lasting beauty and peace of mind.