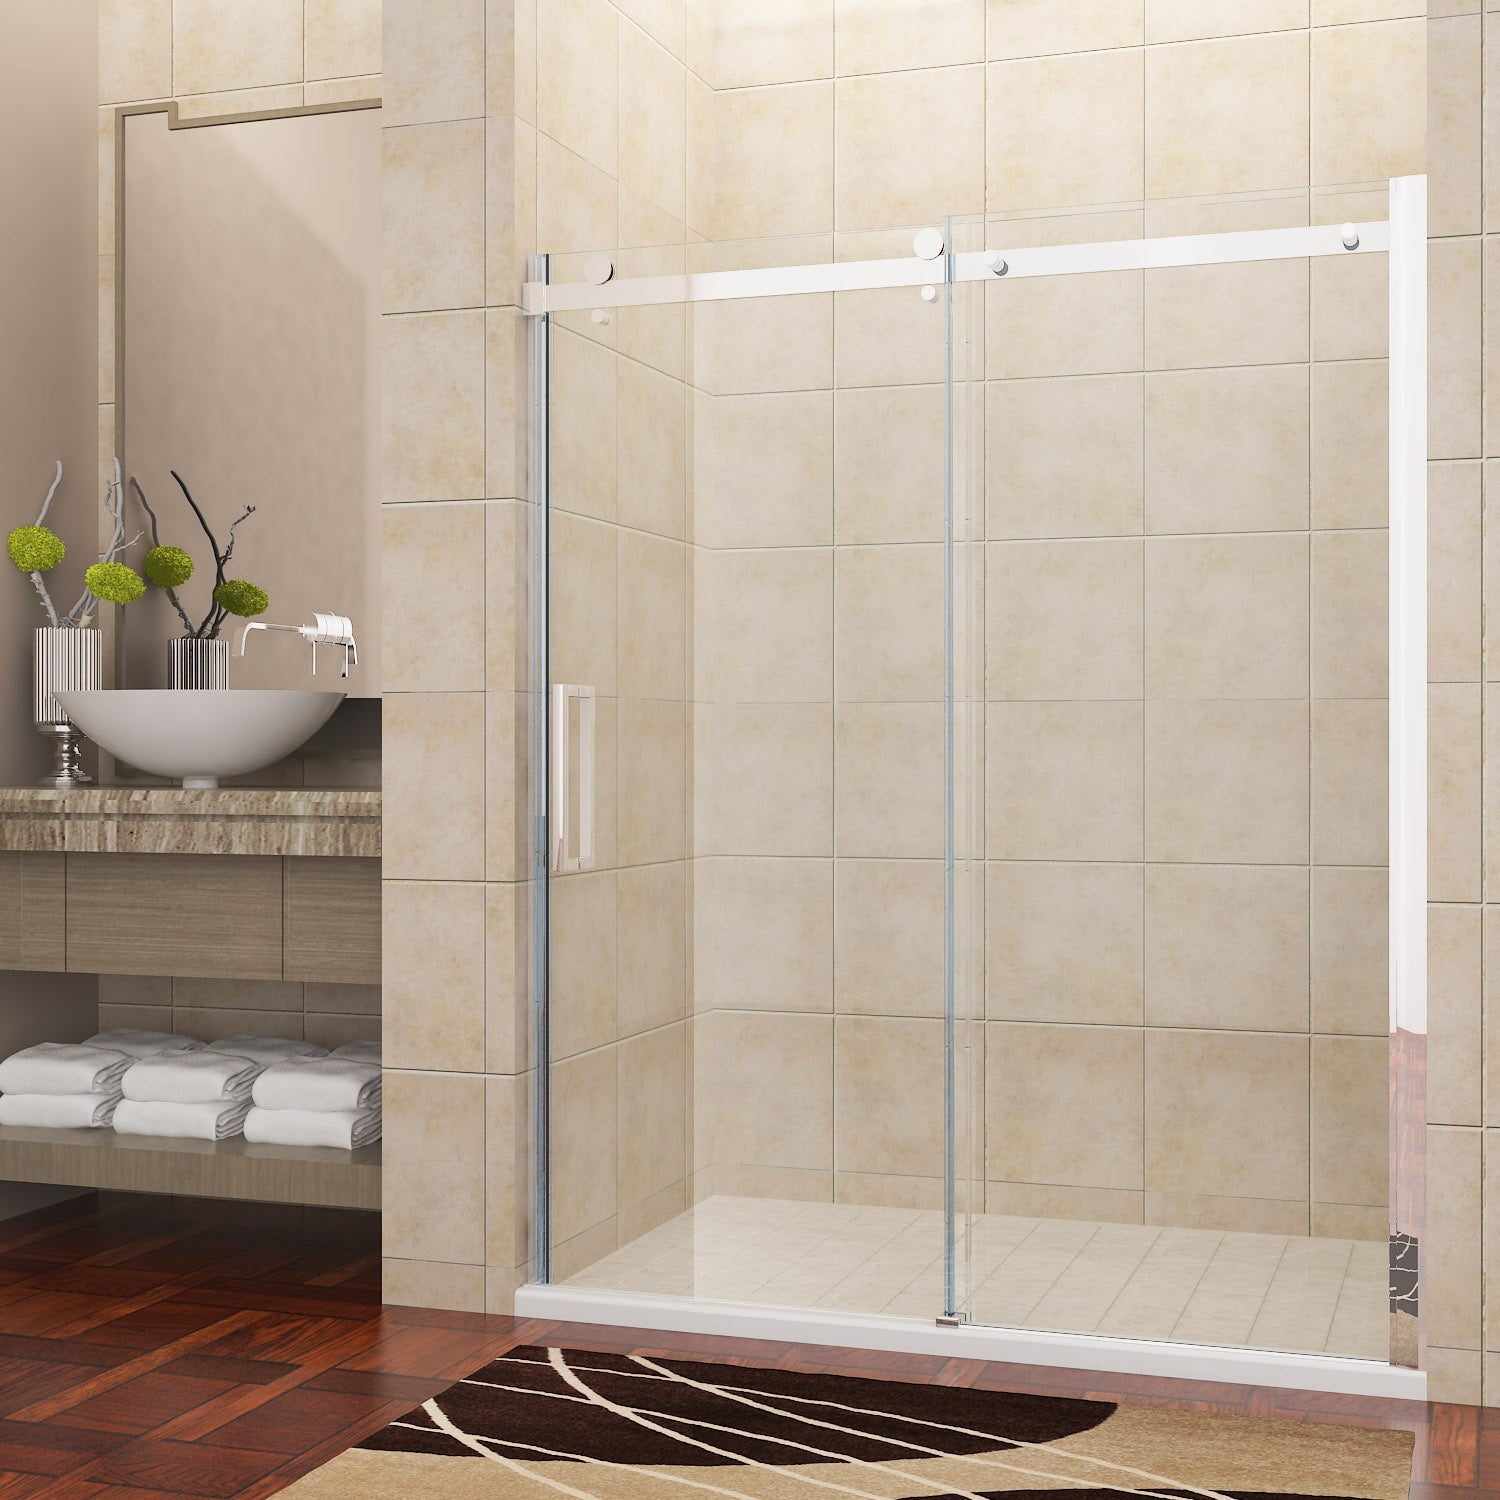

You step out of a warm shower, dry off, and then—your bare foot lands in a cold puddle on the bathroom floor. It’s the frustrating reality of a leaking over-bath shower screen. And in Australian homes, where many bathrooms combine a tub with a glass screen, this problem is all too common.
Ignoring a leaking shower screen doesn’t just mean soggy towels. Over weeks and months, that persistent drip can cause serious structural water damage: rotting timber subfloors, black mould growth behind skirting boards, and even failed waterproofing membranes that cost thousands to replace.
The good news? Most shower screen leaks are fixable in under an hour with basic tools. The three most common culprits—worn-out or perished rubber seals, a build-up of soap scum preventing the door from closing properly, or a screen that has become slightly misaligned over time—each have simple, inexpensive solutions.
In this guide, we’ll walk you through each cause, show you how to diagnose the problem, and give you step-by-step quick fixes that any DIYer can handle. Let’s stop that drip for good.

What Are Shower Screen Rubber Seals?
Shower screen rubber seals are the unsung heroes of your bathroom. These flexible strips—usually made from vinyl, EPDM rubber, or silicone—create a watertight barrier between the glass panel and the bath edge, the wall, or the bottom frame.
There are several common seal types you’ll find on over-bath shower screens in Australia:
-
Bottom sweeps (wipers): The thin flap that drags along the bath rim.
-
Side jambs: Vertical seals that close the gap between the glass and the wall.
-
Magnetic seals: Embedded magnets that snap the door shut with a satisfying click.
-
Bulb seals: A hollow, rounded seal that compresses when the door closes.
When these seals are new and flexible, they work perfectly. But after a few years of hot showers, soap residues, and humidity, they start to degrade—and that’s when the leaking begins.
Signs Your Shower Screen Rubber Seal Has Perished
How do you know if your rubber seals are the reason your shower screen leaks? Look for these telltale signs:
-
Visible cracks or splits – Run your finger along the seal. Does it feel rough or broken?
-
Brittleness – If the seal crumbles or flakes when you touch it, it’s perished.
-
Yellowish discolouration – Old rubber oxidises and changes colour.
-
Black mould spots embedded in the seal – Mould eats into rubber, creating micro-channels for water.
-
Water pooling on the bathroom floor – Especially at the corners of the screen.
-
The door doesn’t close firmly – A missing or compressed magnetic seal means no watertight seal.
If you notice any of these, it’s time to replace the worn shower screen rubber seal. Don’t just apply more silicone over the top—that’s a band-aid, not a fix.
How to Replace a Worn Shower Screen Rubber Seal
Replacing a perished shower door seal is a straightforward DIY job. Here’s how to do it properly:
Step 1: Remove the old seal
Gently pull the old seal out of its channel. If it’s stuck, use a flathead screwdriver to prise it loose. Be careful not to scratch the glass edge.
Step 2: Deep clean the glass edge
Use a cloth soaked in white vinegar to remove old adhesive, soap scum, and mould residue. Let it dry completely.
Step 3: Measure and cut the new seal
Measure the thickness of your glass (common sizes: 6mm, 8mm, or 10mm). Cut the new rubber seal to length using a sharp utility knife. Always cut a few millimetres longer—you can trim excess.
Step 4: Install the new rubber seal
Press the new seal firmly into the channel, starting from one corner. A rubber mallet (or the handle of a screwdriver) can help tap it into place. Ensure it sits flush and even.
Step 5: Apply silicone for extra protection (optional)
For a permanent, leak-proof installation, apply a thin bead of wet-area silicone to the glass edge before fitting the seal. This fills any microscopic gaps.
Step 6: Use silicone grease for a temporary fix
If you can’t replace the seal immediately, work a small amount of silicone grease into the cracks of a leaking join. This softens the rubber temporarily and reduces leakage.
Pro tip from Australian tradies: Buy your replacement seal from Bunnings or a local glass supplies shop. Bring a sample of the old seal to match the profile exactly.
How Soap Scum Buildup Causes Shower Screen Leakage
You might think soap scum is just an eyesore. But in reality, it’s a major cause of shower screen leakage. Here’s why:
Soap scum is a sticky, alkaline residue formed when soap reacts with calcium and magnesium in hard water (very common across Australian cities like Sydney, Adelaide, and Perth). Over time, this greyish film builds up in the tracks, on the glass edges, and—crucially—on the rubber seals.
When soap scum hardens, it prevents the door from closing flush. Even a tiny 1mm gap at the bottom of a shower screen is enough to let a surprising amount of water escape. Add to that hair, dust, and mineral scale, and you’ve got a door that simply doesn’t seal anymore.
Signs That Soap Scum Is the Leak’s Root Cause
Before you start replacing parts, check for these symptoms:
-
The shower door drags on the frame or is stiff to open/close.
-
Running a finger along the bottom track reveals a gritty, rough surface.
-
You see visible white or grey hard water deposits on the glass and seals.
-
Water seems to leak only during the first minute of the shower, then stops (the water itself temporarily softens the scum and allows the door to close better).
If these signs sound familiar, a deep clean will likely fix your leaking shower screen without any replacement parts.
How to Clean Shower Screen Seals Properly to Stop a Leak
Method 1: White vinegar descaling
White vinegar is a mild acid that dissolves soap scum and hard water minerals. Spray undiluted vinegar onto the seals and tracks, let it sit for 10–15 minutes, then scrub with a non-abrasive sponge. Rinse thoroughly.
Method 2: Baking soda paste for stubborn residue
Make a paste with 1 cup baking soda, ¼ cup dish soap, and ¼ cup water. Apply to the affected areas, scrub with an old toothbrush, then wipe clean. This is excellent for removing embedded soap scum and mildew.
Method 3: Degreasing the track
For sliding shower screens, use a dedicated degreaser and a stiff brush to remove hair, lint, and hardened soap from the bottom track. A vacuum cleaner with a narrow nozzle helps remove debris first.
Regular maintenance tips to prevent recurrence:
-
Wipe down the bottom track with a dry cloth after every shower.
-
Apply a thin layer of car wax to clean seals once a month—this creates a hydrophobic barrier that stops soap scum from sticking.
-
Squeegee the glass after each use to reduce mineral deposits.
A Shower Screen That Has Become Misaligned Over Time
What Causes a Shower Screen to Sag or Shift Over Time
Even a perfectly installed shower screen can become misaligned after years of daily use. The main culprits include:
-
Natural building settlement – Australian homes (especially new builds) shift and settle, warping door frames by millimetres.
-
Door-swinging stress – Every time you open or close the door, you apply leverage to the hinges. Over thousands of cycles, this can pull the glass slightly off-square.
-
Loose hinge components – Screws vibrate loose over time. Once a hinge moves even 1mm, the geometry of the door changes.
-
Worn pivot blocks – In pivot-hinge screens, the plastic blocks can wear unevenly, causing the door to sag.
How to Tell If Your Shower Screen Is Misaligned
You can diagnose misalignment in 30 seconds with a simple test:
-
Visual gap check: Close the door and look at the bottom edge. Do you see a visible gap that’s wider at one end than the other?
-
The spirit level test: Place a spirit level on top of the glass door. If the bubble isn’t centred, the screen is out of alignment.
-
Scraping sound: Does the door scrape along the bottom frame or magnetic catch?
-
Magnetic seal failure: The two magnetic strips should meet evenly. If they only touch at the top or bottom, you have an alignment problem.
Step-by-Step Alignment Fixes for a Leaking Shower Screen
For hinge-mounted screens (frameless or semi-frameless):
-
Locate the adjustment screws on the hinge (often hidden under a small plastic cover).
-
Use a screwdriver (usually Phillips or hex) to loosen the screws slightly—do not remove them.
-
Gently shift the glass into the correct position. Use a spirit level to guide you.
-
Tighten the screws firmly, then test the door closure.
For sliding shower screens:
-
Check the top and bottom guide channels. Loosen the guide screws.
-
Use a level to align the door vertically, then retighten the screws.
-
Adjust the bottom roller height if your system has that feature (turn the eccentric screw with a flathead).
For pivot hinge systems:
Some pivot doors can be flipped upside down to ride on an unworn surface. Remove the door, rotate it 180 degrees, and reinstall. This is a clever trick that many Australian repairers use.
When to tighten vs. replace:
If the screws simply came loose, tightening them is enough. But if the hinge or pivot block is corroded or cracked, order a replacement part from a shower screen specialist. Using mismatched or poor-quality materials will cause the leak to return quickly.
When to Call a Professional Shower Screen Repairer
While most leaks are DIY-friendly, some situations demand an expert. Call a professional shower screen repairer if:
-
The glass is cracked – Toughened glass can explode violently if mishandled. Do not attempt to remove or adjust cracked glass yourself.
-
The waterproofing membrane has failed – If water leaks from under the bath itself (not just the screen), the bathroom’s hidden membrane may be compromised. This requires a licensed plumber or waterproofer.
-
Corrosion has destroyed hinges or rails – Severe rust means replacement with custom-cut parts. Most DIYers don’t have the tools.
-
The wall framing has moved significantly – If your bathroom walls are visibly out of plumb, structural work is needed before re-installing a screen.
Professional services typically include custom hinge replacement, realigning doors with laser levels, and resealing using high-performance epoxies that outlast standard silicones. Expect to pay 400 depending on the job.
Conclusion — Enjoy a Dry Bathroom Once Again
A leaking over-bath shower screen is frustrating, but it’s rarely a disaster. In the vast majority of cases, the culprit is one of three things: a worn-out rubber seal, a buildup of soap scum preventing proper closure, or a door that has become slightly misaligned over time.
Each of these problems has a straightforward, affordable fix. Check your rubber seals for cracks and perishing. Deep clean the tracks and seals with white vinegar or baking soda paste. Use a spirit level to verify your door alignment—then adjust the hinges or rollers accordingly.
With an hour of your time and basic tools from any local hardware store, you can stop that drip, protect your bathroom from costly water damage, and enjoy a dry floor again.
So inspect your shower screen this weekend. Grab your white vinegar, your screwdriver, and a new rubber seal if needed. But remember: sometimes the best fix isn’t a repair—it’s an upgrade. If your screen is beyond saving, or if you’re simply looking for fresh design ideas and long‑lasting solutions, visit Elegant Showers AU for a wide range of Australian‑certified shower screens, seals, and accessories.