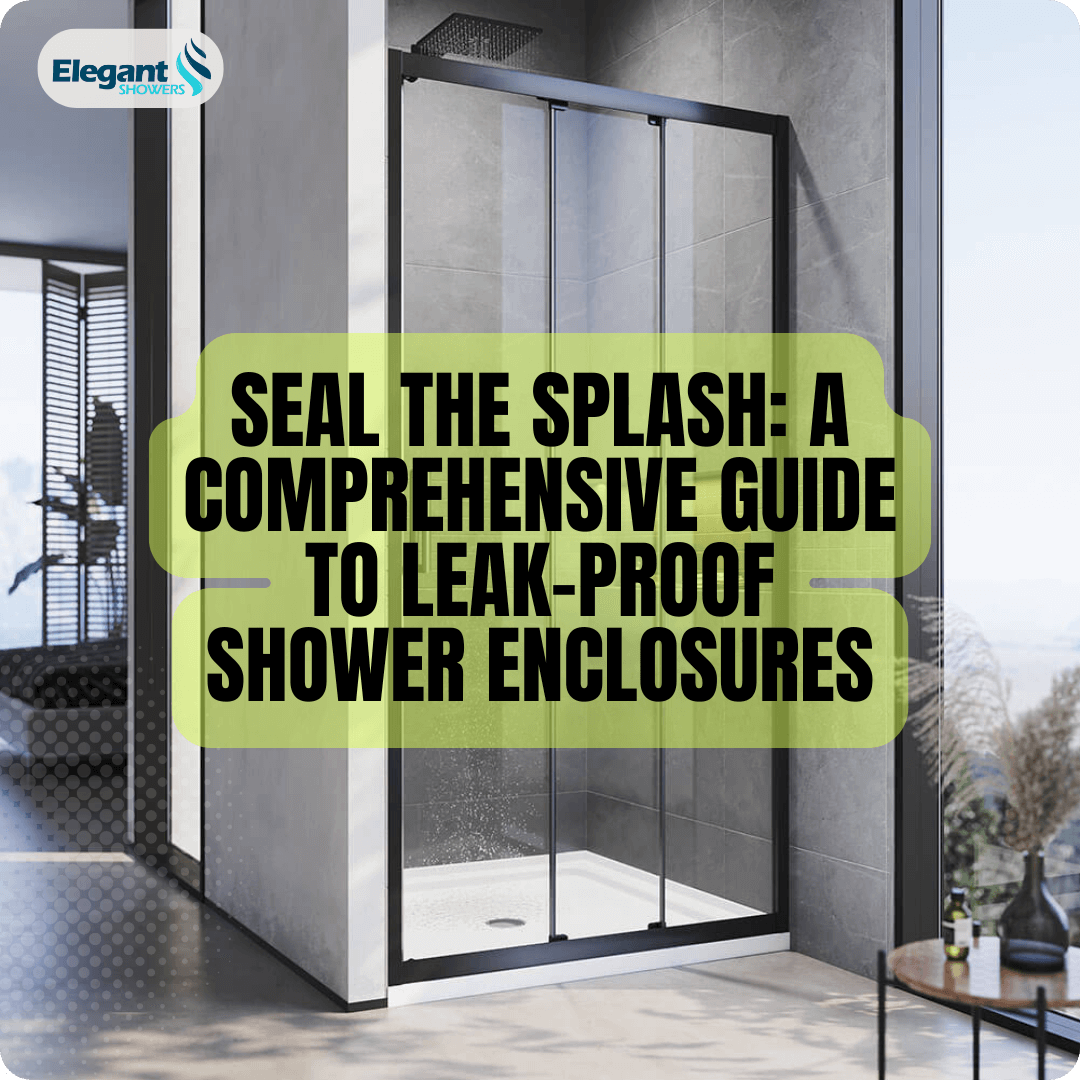
Our everyday activities depend much on shower enclosures, which not only provide privacy but also guard the remainder of our bathroom against water leaks. A leaky shower enclosure can, however, rapidly turn this haven into a cause of annoyance and possible water damage. This page aims to help you choose a shower enclosure with exceptional sealing ability. We will discuss typical sources of leaks, evaluate the sealing properties of several enclosure materials—from glass to plastics and composites—and offer doable advice for sealing joints and strip installation. Whether you are maintaining an old shower or installing a new one, we will help to make sure it stays a watertight refuge.
What Causes Shower Enclosure Leaks?
Leaks in shower enclosures can emerge from various flaws and failures. Common culprits include deteriorating seals, improper door alignment, or gaps left by shoddy installation. Over time, the wear and tear of daily use can compromise the enclosure's integrity, causing water to escape through small openings.
Material-wise, risks vary: glass can develop leaks at weak joints or due to improper installation; plastics like PVC may shrink or warp, affecting the seal; and composite materials could suffer from seal degradation where different materials meet. Identifying these potential problems is the first step toward a dry and secure bathroom.
How Does Tempered Glass Enhance the Seal of Your Shower Enclosure?
Tempered glass, the go-to material for shower enclosures, boasts excellent sealing properties due to its smooth surface, which minimizes crevices where water might collect and leak. Its strength, a result of rapid heating and cooling processes, significantly reduces the risk of cracks and gaps forming over time. The thickness of the glass plays a vital role in ensuring a robust seal; thicker glass, while heavier, is less prone to flexing and distortion that can disrupt the seal.
Advanced processing techniques such as precision edging and drilling for fixtures contribute to airtight seals by allowing for snug fits with sealant materials and hardware. Properly processed and installed tempered glass enclosures stand as resilient barriers against leaks, offering both durability and peace of mind.
Can Plastic Shower Enclosures Offer Reliable and Flexible Sealing Solutions?
Plastic materials like PVC and polycarbonate are popular alternatives to glass for shower enclosures, prized for their flexibility and adaptability in sealing. PVC, in particular, is waterproof and can easily conform to the required shapes and sizes, ensuring a snug fit against walls and floors that aids in leak prevention. Polycarbonate sheets, known for their impact resistance, also provide a reliable seal, though they must be properly treated to resist discoloration and maintain their sealing properties.
However, these plastic options do come with maintenance considerations. They may be susceptible to scratches and can require regular treatments to prevent clouding or yellowing over time. Additionally, while both PVC and polycarbonate can accommodate temperature variations, extreme changes could potentially affect their sealing performance.
What Makes Composite Material Enclosures Great for Leak-Proof Sealing?
Shower enclosures crafted from composite materials, such as those combining an aluminum alloy frame with glass or plastic panels, offer a hybrid approach to sealing. The rigidity of the aluminum frame provides a sturdy structure that can support the weight of glass panels, ensuring minimal movement and maintaining a consistent seal. When used with plastic panels, the flexibility of the composite materials allows for effective absorption of impact and thermal expansion, which reduces the risk of seal breaches.
These material combinations also tend to feature interlocking components designed for enhanced water tightness. Over time, however, the junctions between dissimilar materials can become potential weak points due to differential expansion rates or corrosion in the case of metal. To preserve long-term performance, it's crucial that these enclosures receive regular maintenance checks, especially at the seams where materials meet.
How to Maximize Sealing Strips and Joints
Look for high-quality silicone-based seals that are flexible, mold-resistant, and can withstand the daily fluctuations in temperature and humidity typical in bathrooms. When replacing worn-out seals, ensure a thorough removal of any mildew or soap scum from the previous installation to guarantee a clean surface, which allows the new sealant to adhere properly.
When it comes to joints, proper alignment is key. Use sealants designed specifically for bathroom use; these are usually formulated to combat fungal growth and maintain elasticity over time. During application, cut the nozzle at a 45-degree angle for a smooth bead, and apply even pressure to the sealant gun for consistent distribution. Firmly press the sealant into the joint, smoothing it out with a wet finger or tool to ensure full coverage without gaps. Let it cure completely before exposing it to moisture to assure the best sealing effect.
Installation Insights for Shower Enclosures
Attention must be paid to several details:
- Level and Alignment: Ensure that the base and walls are perfectly level, as any misalignment can cause gaps in the seals.
- Quality Sealants: Use high-grade, mold-resistant silicone sealant meant for wet areas. Cheaper alternatives may fail prematurely.
- Correct Application: Apply sealant evenly, filling all potential points of water ingress, particularly around the base where the enclosure meets the shower tray or bathtub.
- No Gaps Left Behind: Pay special attention to corners and edges, as these are common leak points. Double-check that these areas are completely sealed.
A seasoned professional won't just install your shower enclosure; they'll ensure every seal is expertly applied to prevent leaks, saving you from future headaches and costly repairs.
Daily Maintenance and Leakproofing Your Shower
Here’s how to keep things watertight:
1. Daily Wipe-Down: After each use, wipe down the enclosure with a squeegee or soft cloth to prevent water spots and reduce moisture accumulation, which can degrade seals over time.
2. Weekly Checks: Once a week, inspect the seals around your shower enclosure for any signs of wear or peeling. Make sure that the edges remain adhered to the surfaces without any curling or gaps.
3. Mildew Monitoring: Look out for any black spots or discoloration along the seals, indicative of mildew or mold, which can undermine the integrity of the silicone.
4. Prompt Repairs: At the first sign of damage, apply new sealant as needed. Be sure to thoroughly clean the area and remove any old sealant before applying a new bead.
5. Door Adjustments: Ensure that shower doors close snugly. If you notice any misalignment, adjust the hinges or tracks as needed to maintain a firm barrier against leaks.
6. Water Flow Wisdom: Monitor where the water sprays. Aim showerheads away from door seams and direct flow downwards to minimize pressure on seals.
7. Ventilation is Vital: Use an exhaust fan or open a window to ventilate the space after showering to help dry out the enclosure quickly, keeping the seals in good condition.


