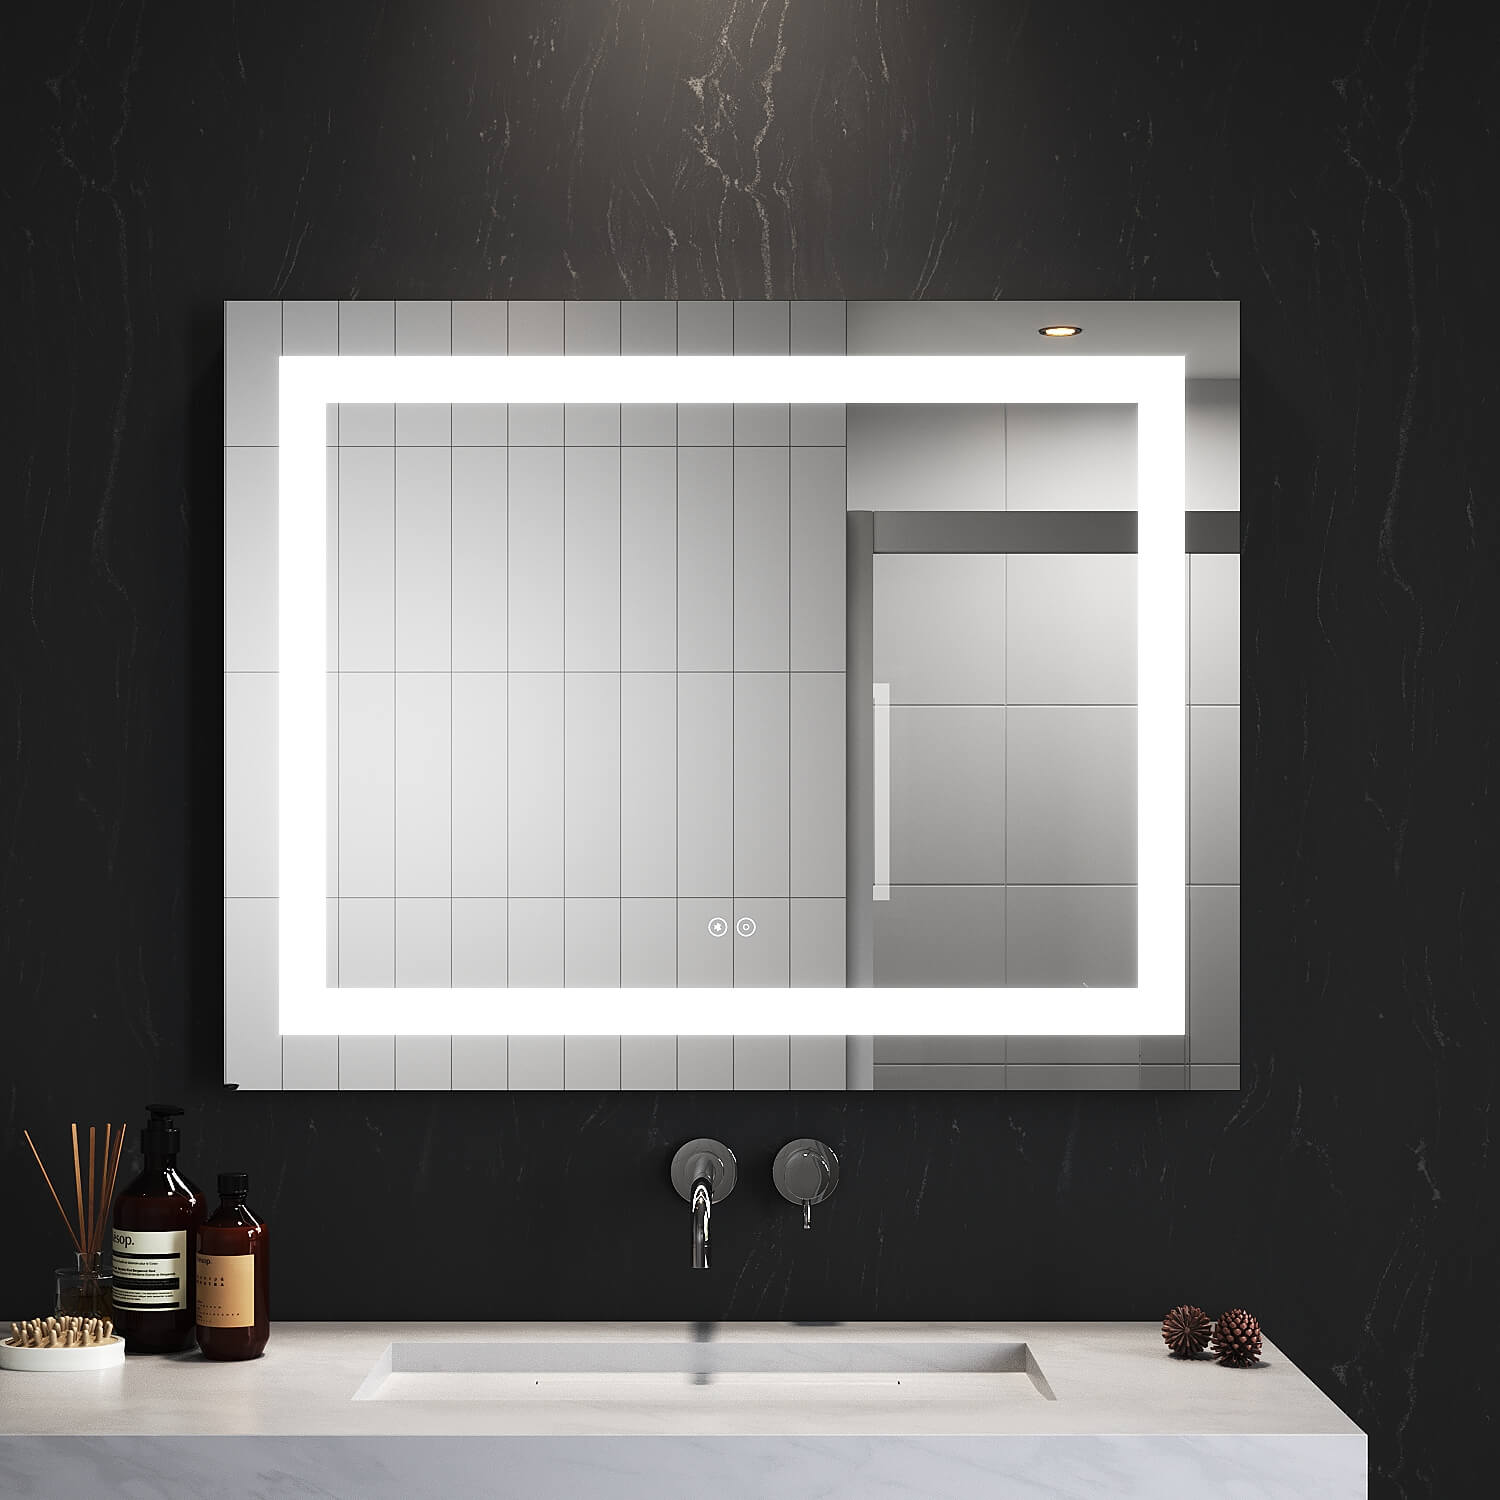

There’s nothing more satisfying than walking into a freshly upgraded shower enclosure and knowing you did the work yourself. Installing your own shower enclosure not only gives you that sense of achievement. However, it also saves a significant amount of money compared to hiring a tradesperson. When approached with good planning and patience, this project can give you a professional-looking result that blends function and style.
This guide will walk you through everything you need to know about installing a shower enclosure in your home. We’ll start with the essential tools and materials, outline key safety and compliance considerations specific to Australian standards, and then break down the installation process step by step. Along the way, we’ll highlight tips for different shower enclosure types, frameless, semi-frameless, and framed, because while the principles are similar, precision matters even more with certain models.
If there’s one theme throughout this project, it’s preparation. Bathrooms are areas where millimetres make the difference between a watertight, smooth-operating shower and one that leaks or feels flimsy. By following this guide, you’ll be equipped with both the know-how and the confidence to get the job done right.

Essential Tools and Materials for Your Shower Enclosure Installation
Before you begin, gather everything you’ll need. Having your tools and materials ready will make the process smoother and reduce the risk of mistakes caused by rushing.
Tools for Installing a Shower Screen
· Caulking gun – for applying silicone sealant cleanly.
· Spirit level (long and short) – to check whether your shower base and profiles are level and plumb.
· Power drill with hammer action – essential for drilling into masonry behind tiles.
· Specialist drill bits – masonry bits and tile bits to safely drill through tiles without cracking them.
· Screwdrivers (Phillips and flathead) – for adjusting hinges and securing fixings.
· Tape measure and pencil – accuracy in marking drill holes is non-negotiable.
· Silicone remover tool – in case you need to redo joints.
· Safety glasses and gloves – protect yourself from tile shards, glass edges, and silicone fumes.
Materials for a Successful Installation
· Shower enclosure kit (frameless, semi-frameless, or framed depending on preference).
· 100% silicone sealant, mould-resistant, suitable for bathrooms. Top brands in Australia include Selleys Wet Area and Parfix Bathroom Silicone from Bunnings.
· Wall plugs and screws (check that they match your wall construction, examples: Ramset plugs for masonry, anchors for stud walls).
· Shims or packers – used to correct any wall irregularities and keep everything perfectly plumb.
Why Using the Right Materials Matters
In Australian homes, especially where bathrooms are subject to high humidity and frequent use, cheap sealants or incorrect fixings will result in leaks, mould, or even structural damage. Always choose materials that are designed for wet areas and comply with Australian standards for durability.

Pre-Installation Checklist: Ensuring Your Shower Base is Ready
Before you unpack your new enclosure, your shower base and walls need to be assessed. This step is often overlooked but can make or break your project.
Checking the Shower Base Level
Using a long spirit level, test the base in multiple directions. Even a few millimetres of slope can prevent the shower door from closing properly or lead to water pooling. If the base is not level, it will need correcting before installation begins.
Assessing Wall Condition and Plumb
Next, check whether your walls are perfectly vertical. Hold your spirit level against the wall from the base upwards. Any noticeable lean or bow can complicate the installation, especially for frameless enclosures where there is no frame to mask imperfections. Shims may help, but significant deviations might require professional correction.
Confirming the Enclosure Specs
Match your chosen shower screen to your base dimensions. Double-check whether your unit is designed for left-hand or right-hand pivot, quadrant, or corner entry. Buying the wrong configuration is one of the most frustrating mistakes homeowners make.
Australian Waterproofing Standards (AS 3740)
A final but essential note: under AS 3740 – Waterproofing of Domestic Wet Areas, waterproofing must be carried out by a licensed professional. DIY waterproofing is illegal in Australia and voids insurance. This guide assumes your shower recess is already waterproofed properly.

Step-by-Step Shower Enclosure Installation Guide
This section breaks down the installation into manageable stages. Take your time and do not rush.
Step 1: Dry Fit and Prepare the Shower Enclosure Components
Unpack the kit carefully, laying out all parts, glass panels, jambs, hinges, clamps, and sealing strips. Dry fit the components in place without silicone or screws. This helps you confirm alignment, door swing clearance, and identifies any adjustments required before committing.
Step 2: Marking the Drill Points with Precision
Hold the side profiles (jambs) in place, checking with a long spirit level to ensure they are perfectly upright. With a pencil, mark the drill hole positions on the tiles. Take your time with this step, once holes are drilled, mistakes are costly. Measure, step back, and re-check your lines.
Step 3: Drilling Holes in Tiles and Masonry
Tile drilling requires patience. Begin with a specialist tile bit angled at 45 degrees to score the surface. Once you’ve made a shallow groove, straighten the drill. Use light pressure and low speed to avoid cracking the tile. Once through the tile, switch to a masonry bit and hammer mode to finish the hole into the wall substrate. Vacuum the dust from the holes before inserting wall plugs.
Step 4: Installing the Side Profiles and Header
Apply a thin bead of silicone to the rear face of each profile where it meets the wall. Starting with one jamb, secure it using screws and wall plugs while ensuring it remains plumb. If walls are uneven, use packers behind the profile. Attach the header bar across the top, then fix the second jamb.
Step 5: Hanging the Shower Door
Fit hinges to the door if not already installed. With a partner’s help, carefully lift the door into position and secure it to the hinge jamb. Adjust screws to fine-tune the swing, height, and closing action. The goal is smooth movement with tight seals along the edge.
Step 6: Applying Silicone Sealant for a Watertight Seal
Run a continuous bead of 100% silicone along inside joints only, between glass and profile, and profile to wall or base. Smooth the bead immediately with a damp finger or a profiling tool. Do not seal the outside of the enclosure; this prevents trapped condensation and avoids mould growth.
Step 7: Final Adjustments and Cleaning
Check the door closes tightly and the magnetic seals align. Wipe away stray silicone or fingerprints with a glass-safe cleaner. Allow the enclosure to cure for at least 24 hours. Using the shower too early will compromise the seal.

Installation Tips for Different Types of Shower Enclosures
Frameless Shower Screens
Frameless units look elegant but leave no room for error. Because they lack frames to cover imperfections, walls must be plumb and level. Install using exact clamps and fittings, and never attempt to drill holes in glass yourself, these come factory-prepared.
Semi-Frameless Enclosures
These combine the sleekness of glass with some metal framing. They are more forgiving of slight wall irregularities than frameless, and installation feels much like a fully framed unit, though alignment is still critical around the door edges.
Pivot vs. Sliding Doors
· Pivot doors require precise positioning of hinge jambs and stoppers to ensure the door swings freely while sealing properly against the base.
· Sliding doors rely on perfectly level top and bottom tracks to glide effortlessly. Any deviation here causes sticking and uneven wear.
Top Shower Enclosure Installation Mistakes to Avoid
Even experienced DIYers make mistakes during installations. Avoid these common pitfalls:
1. Installing on an unlevel base – this always results in leaking doors or gaps.
2. Overtightening screws – doing so can crack tiles or strip fixings. Hence, make sure that you don’t overtighten them.
3. Using general-purpose sealant – only 100% bathroom-grade silicone will resist mould.
4. Sealing the enclosure outside – this traps moisture and causes long-term mould.
5. Rushing silicone curing – using the shower too soon ruins your hard work. This is why you need to take time to go through this process. It will help you to get the best results at the end of the day.
Conclusion
Installing your own shower enclosure is entirely achievable with careful planning, patience, and the right materials. By checking for level and plumbness, marking drill points accurately, using specialist bits for tile work, and applying silicone properly, you can achieve a watertight, professional-quality finish that transforms your bathroom.
Remember, Australian waterproofing must be completed legally by a professional before you begin. Once that’s in place, the satisfaction of completing your own installation is second to none, along with the savings on labour costs.
If you’d like tailored solutions, consider consulting with local suppliers or visiting Elegant Showers Australia for more enclosure styles. You can also get expert advice and customised options from our online store. Investing that little extra in quality now ensures your DIY project stands the test of time.